
Importing Documents allows you to completely transfer all historical documents from your previous account system. Or uses this tool to automate your daily routine with import data from external file to documents in AccountingSuite system to reduce manually entering of every lines.
We recommend transferring all historical documents as drafts and opening balances for start date to save historical information for analysis and control. Otherwise, the exact match of the final G/L accounting transactions after the documents will be posted in the new system is not guaranteed.

Importing a Document from Clipboard #
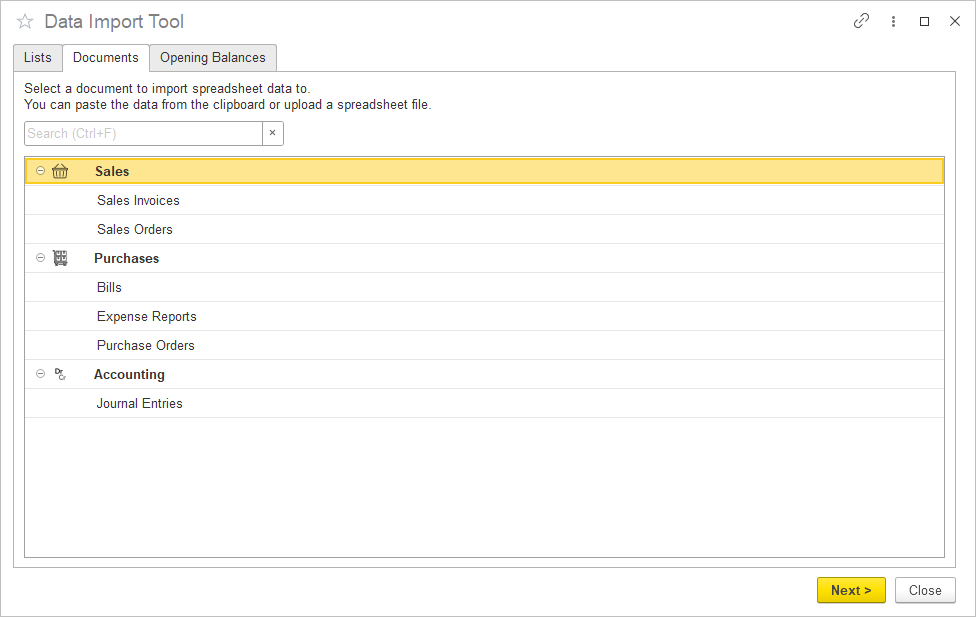
1. Navigate to Admin Panel → Data Import Tool → Documents.
2. Select the document you would like to import.
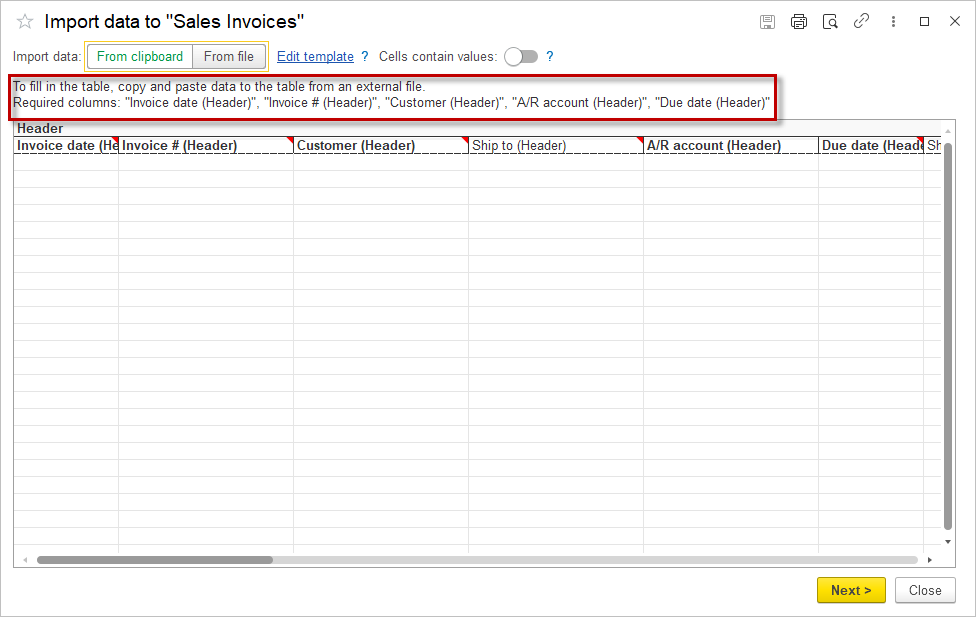
3. The Import window opens, showing the columns required for this document. Required columns are necessary to record an entry and vary from one document to another.
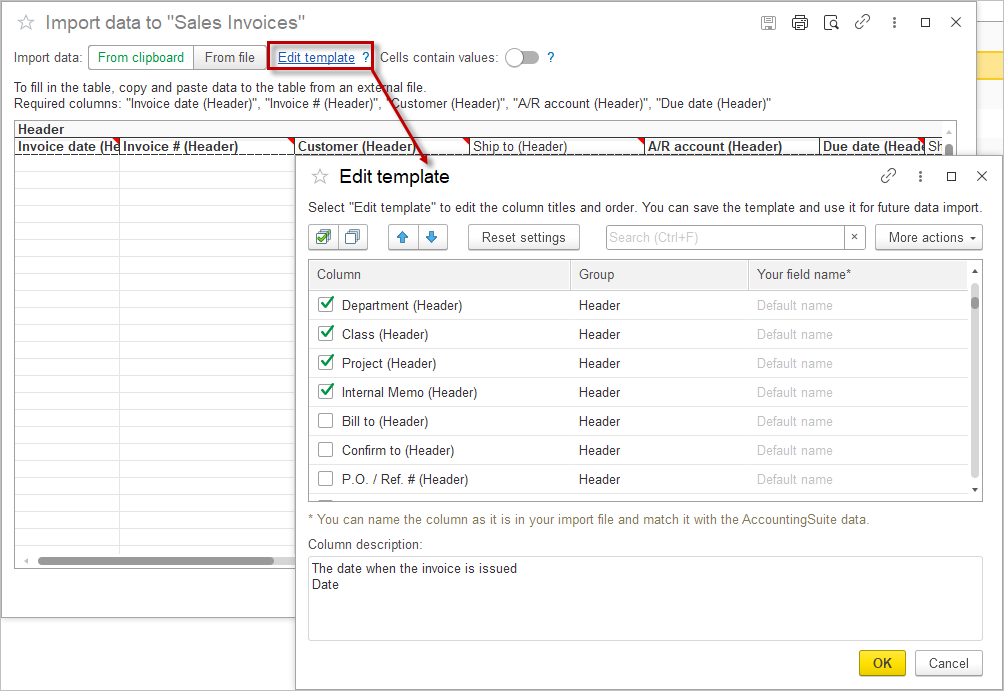
4. If you would like to import additional data along with the mandatory columns, click Edit template to add more columns and tick the additional columns. Use the arrows to change the order of the columns.
5. Fill in the table manually or copy and paste data from a spreadsheet.
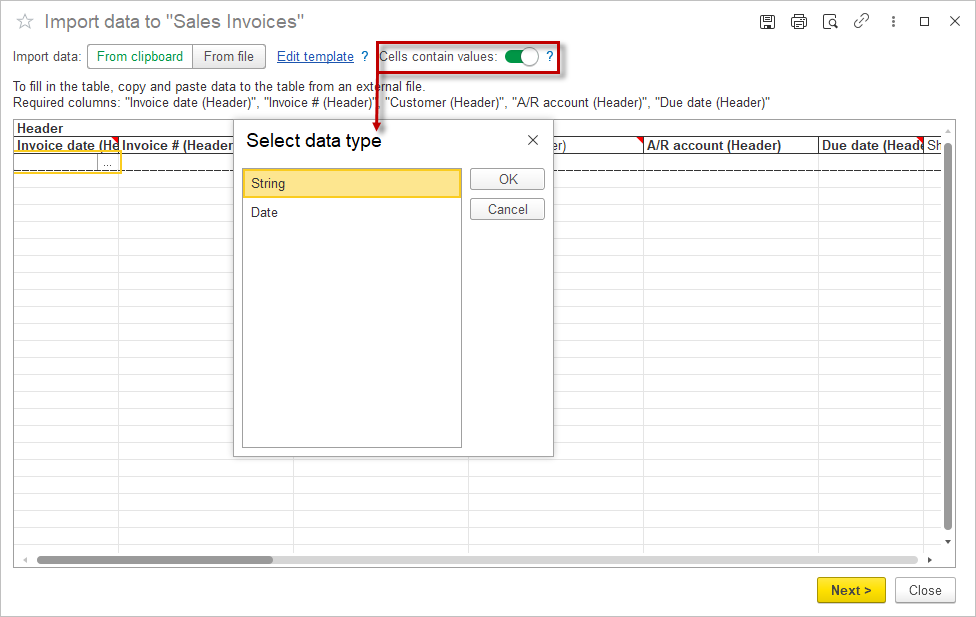
6. Tick the checkbox Cells contains value to select the data from the dropdown list.
7. Red triangle is a hint in each column that provides information about the input data format.
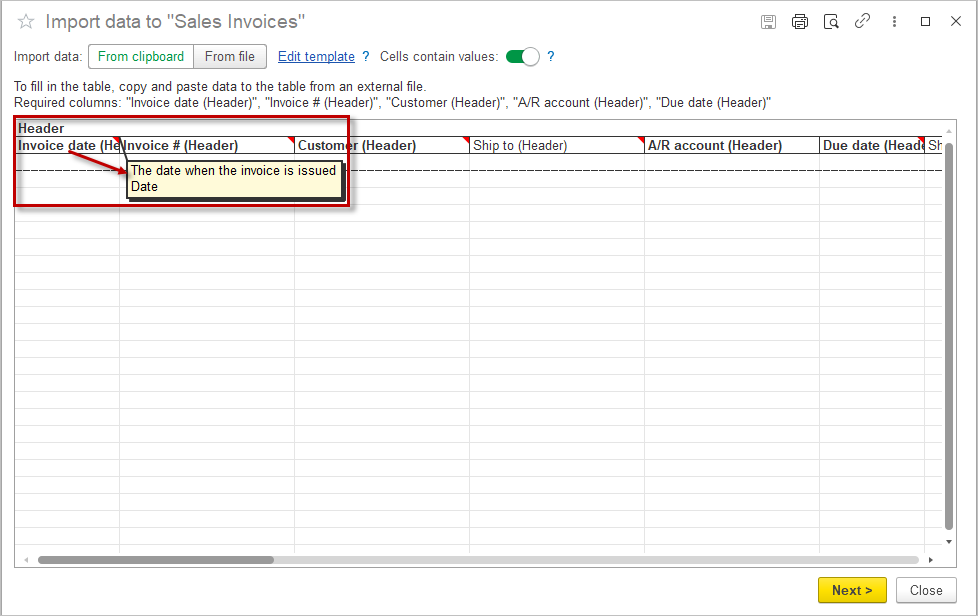
8. Click Next after filling in the table.
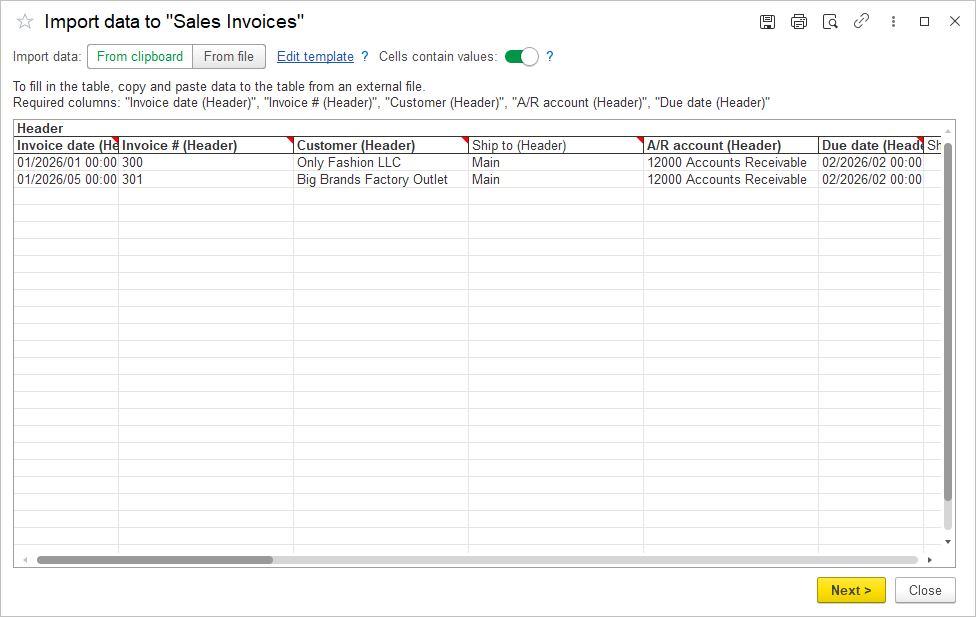
9. If all required fields were field, you will see the message in the bottom of the screen showing creation of all mapped documenrts.


Please note: All documents will be imported as drafts. If you need to import document as Opening balances refer to this page.
10. If a required field has been left blank (as in line 1 in the image below):
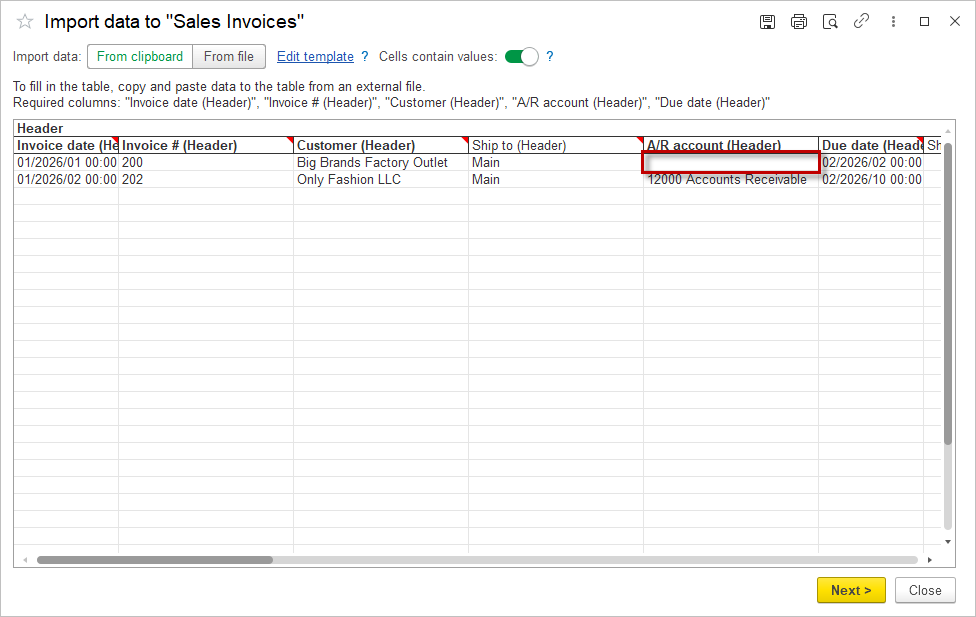
- The Data Mapping window displays all unmapped entries.
- Enter values for the required fields.
or Click the Import data button. If the required fields are not entered, they will be left empty.
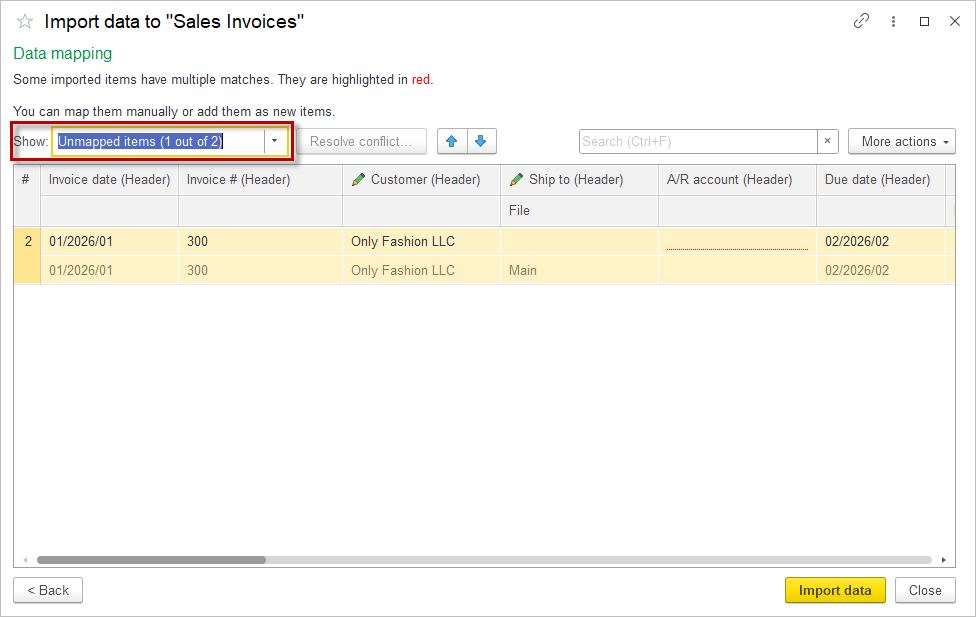
11. After entering the missing fields, you can view the list of all mapped fields to check the entered data again. In the drop down menu, select Mapped items.
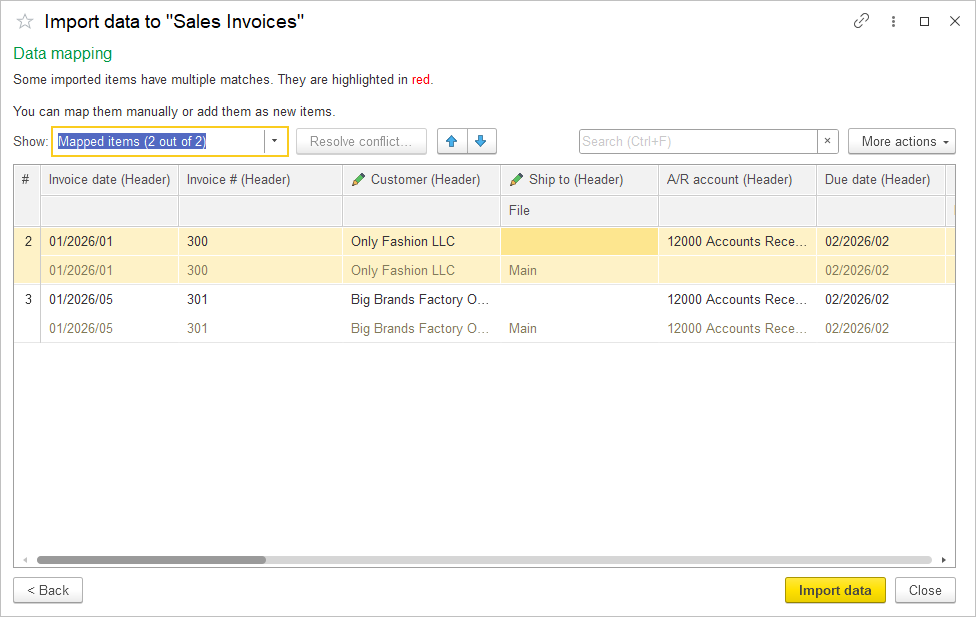
12. The confirming message will be the same as in step 9.
Importing a Document from File #
1. Navigate to Admin Panel → Data Import Tool → Documents.
2. Select the document you would like to import.
3. The Import window opens, showing the columns required for this document. Required columns are necessary to record an entry and vary from one document to another.
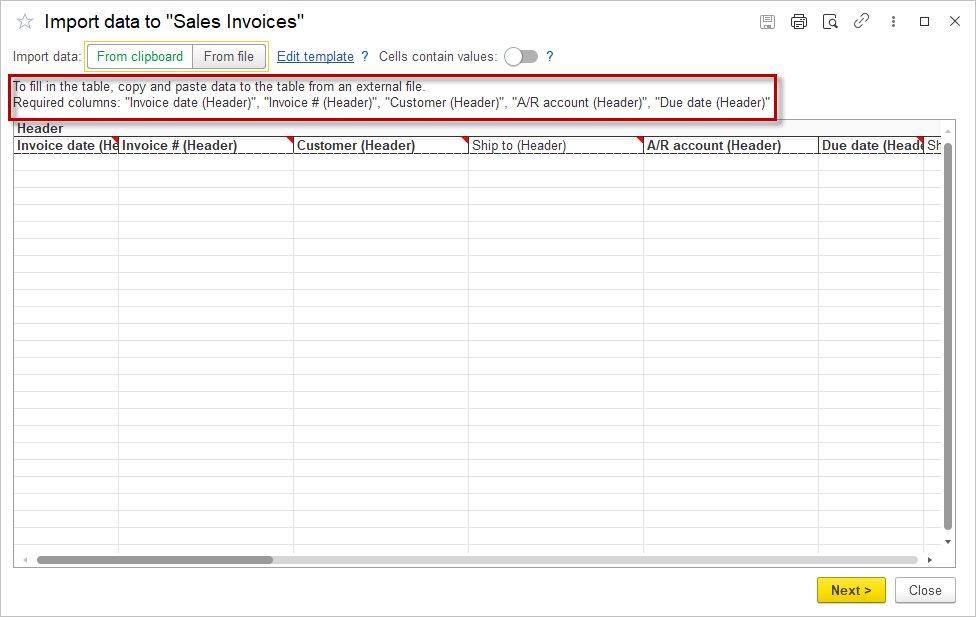
4. If you would like to import additional data along with the required columns, click Edit template to add more columns and tick the additional columns. Use the arrows to change the order of the columns.
5. After selecting the columns, click From file and Save the template to your computer.
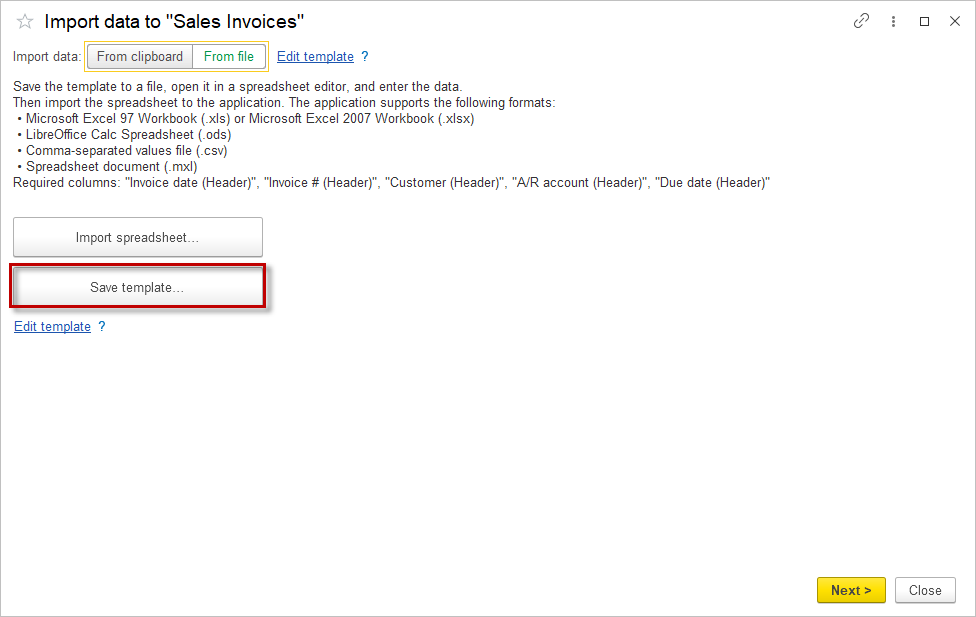
6. Fill in the table and then click Import spreadsheet
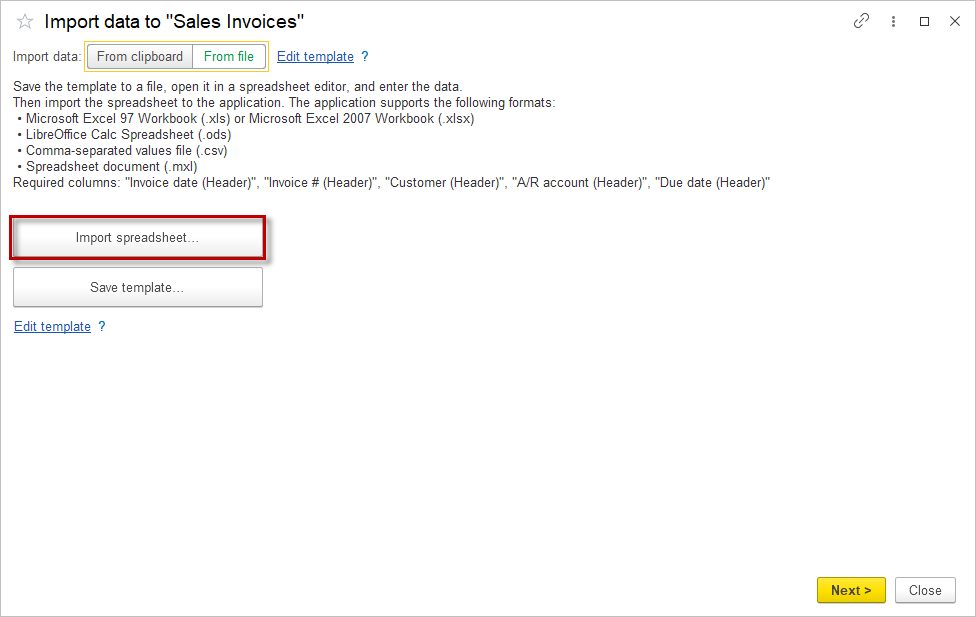
7. The rest of the steps are the same as steps 8 to 12 of the Importing from Clipboard procedure.
Please note: All documents will be imported as drafts. If you need to import document as Opening balances refer to this page.
Importing Document’s Lines #
1. Create document or open existing one.
2. Click Import from File button.
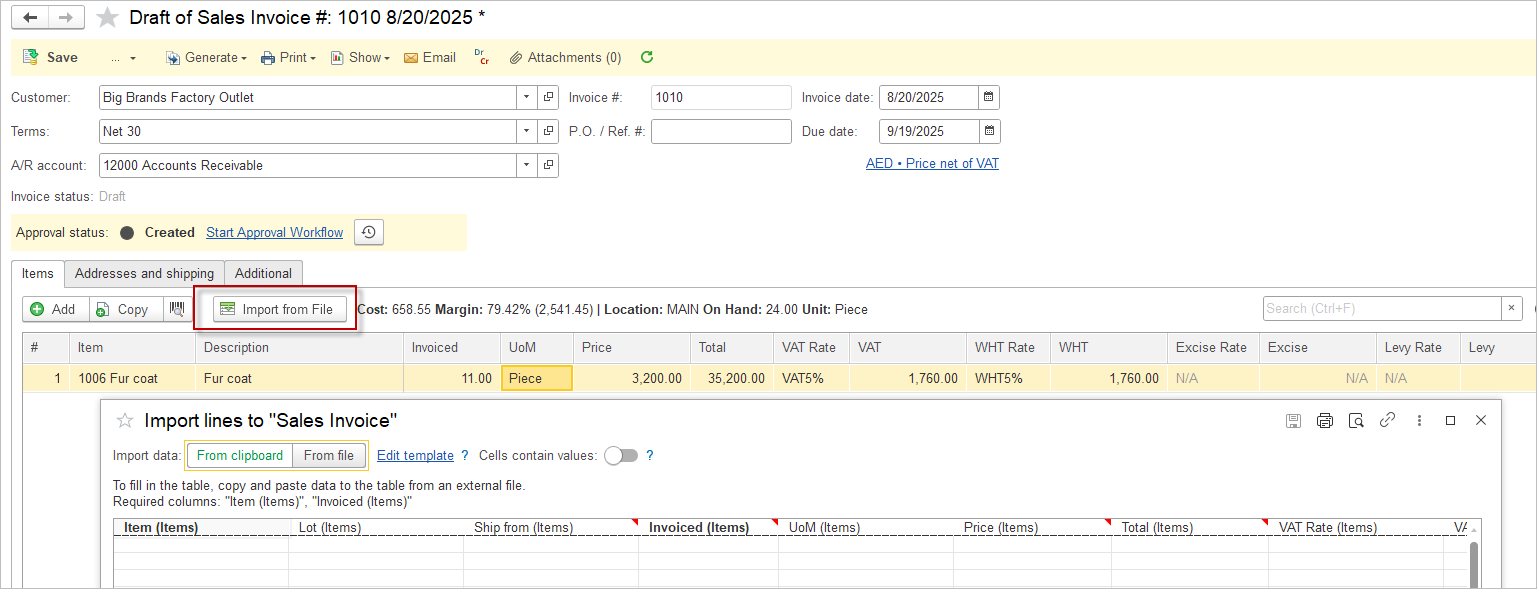
3. Copy paste data from clipboard or use a From file to create new lines into the document.
4. You can use the Import from File button from a document’s list to create new documents header + lines from a clipboard or a file to automate your daily routine with reducing manually entering of every lines.
