Collaboration system is a built-in, private social network or corporate intranet specifically for your business processes. It’s not for sharing cat memes; it’s for sharing tasks, documents, discussions, and announcements directly within the 1C Platform where your core business data (sales, purchases, accounting, manufacturing) already lives.
Its primary purpose is communication between employees, departments, and even external users regarding specific business transactions and tasks.
The Collaboration system is ready to use by default for Cloud AccountingSuite. To use it in your company’s network with On-premise AccountingSuite you need to install it in company’s network.
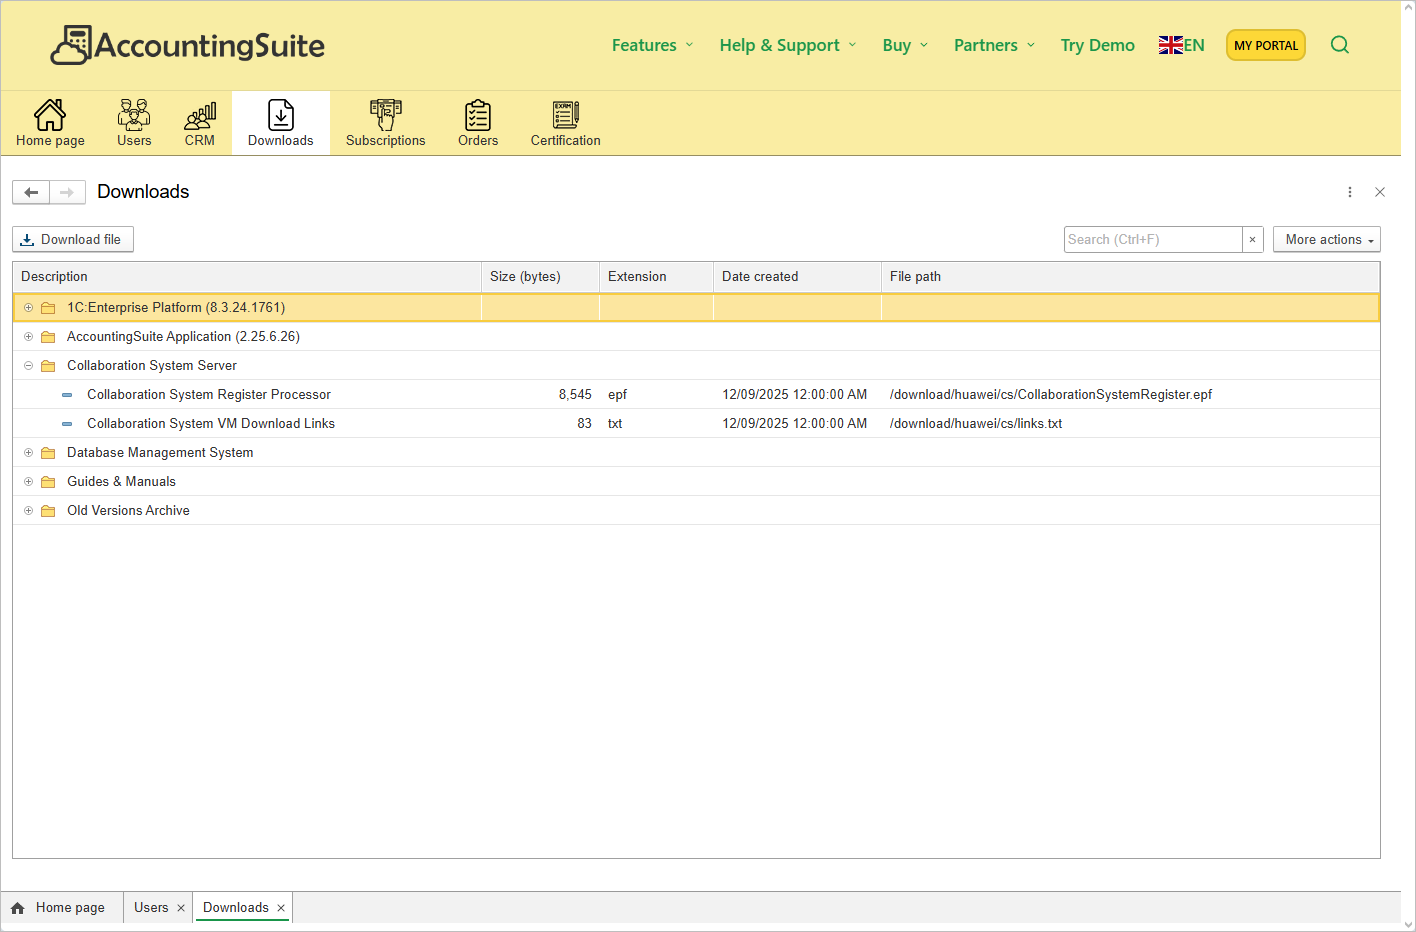
Download the VM image vm-cs-disk-0.zip and CollaborationSystemRegister.epf from the AccountingSuite Portal with your partners or on-premise subscription.
- Collaboration System Register Processor – use the CollaborationSystemRegister.epf file on the last step in on-premise AccountingSuite
- Collaboration System VM Download Links – open links.txt file and take direct link to download 4Gb VM image vm-cs-disk-0.zip file
Creating virtual machine #
Install and launch Oracle VirtualBox: https://www.virtualbox.org/wiki/Downloads
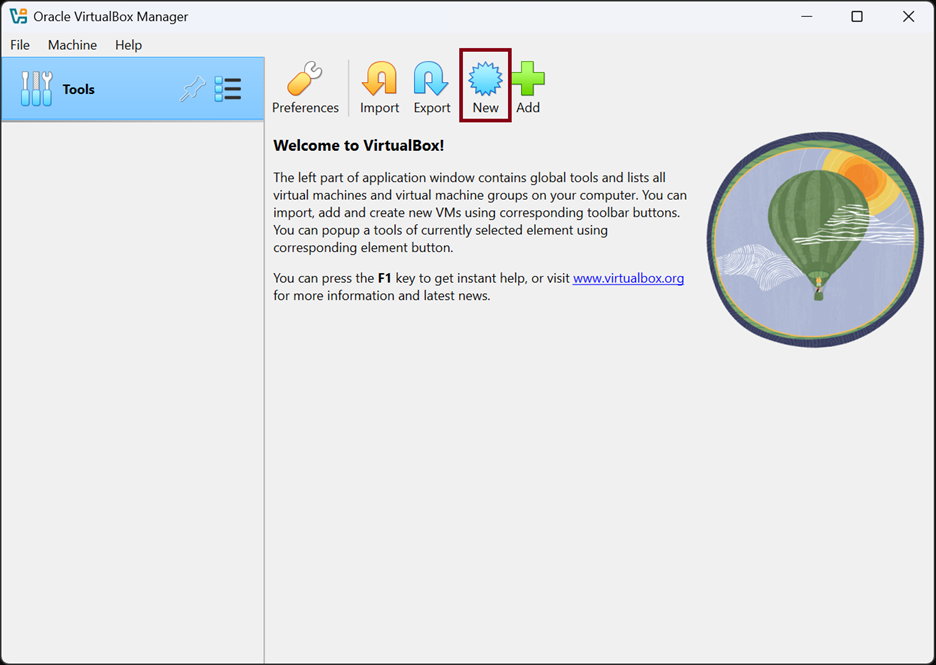
Please press button “New”
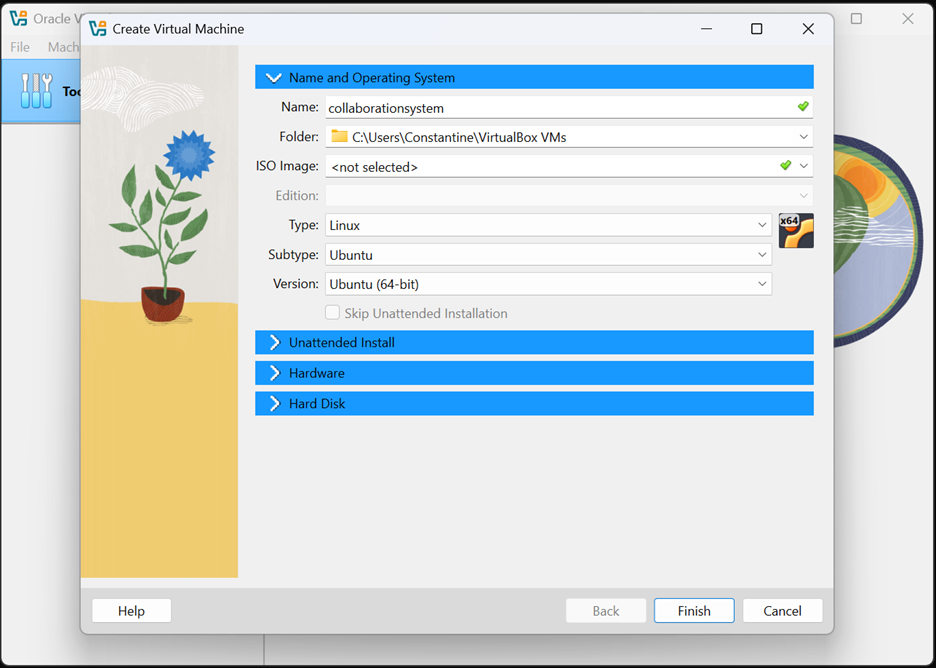
Specify the virtual machine name and type with subtype (Linux, Ubuntu)
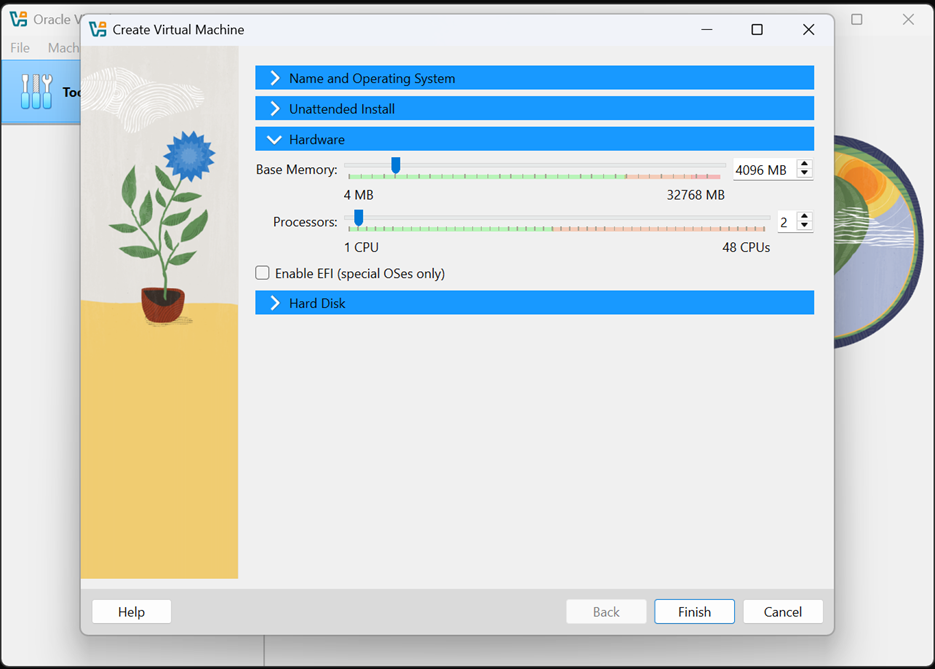
Select resources for the virtual machine. Minimum recommended specifications: 2 CPU cores, 4 GB RAM
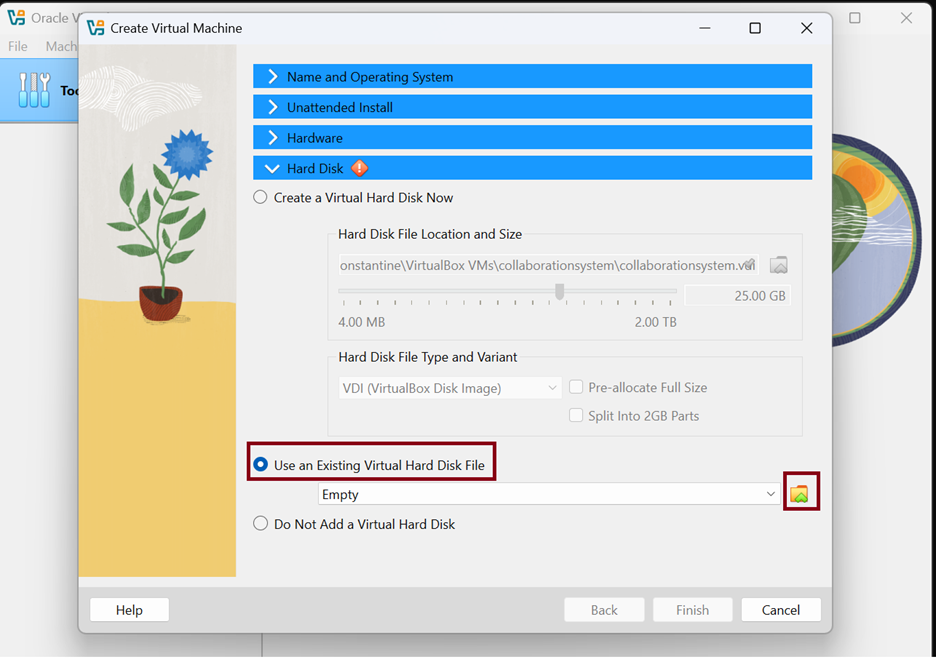
Select the item “Use an existing virtual hard disk file” and click on the folder-shaped button. In the window that opens, select the QCOW type at the bottom right and select the downloaded image. Click the “OK” button
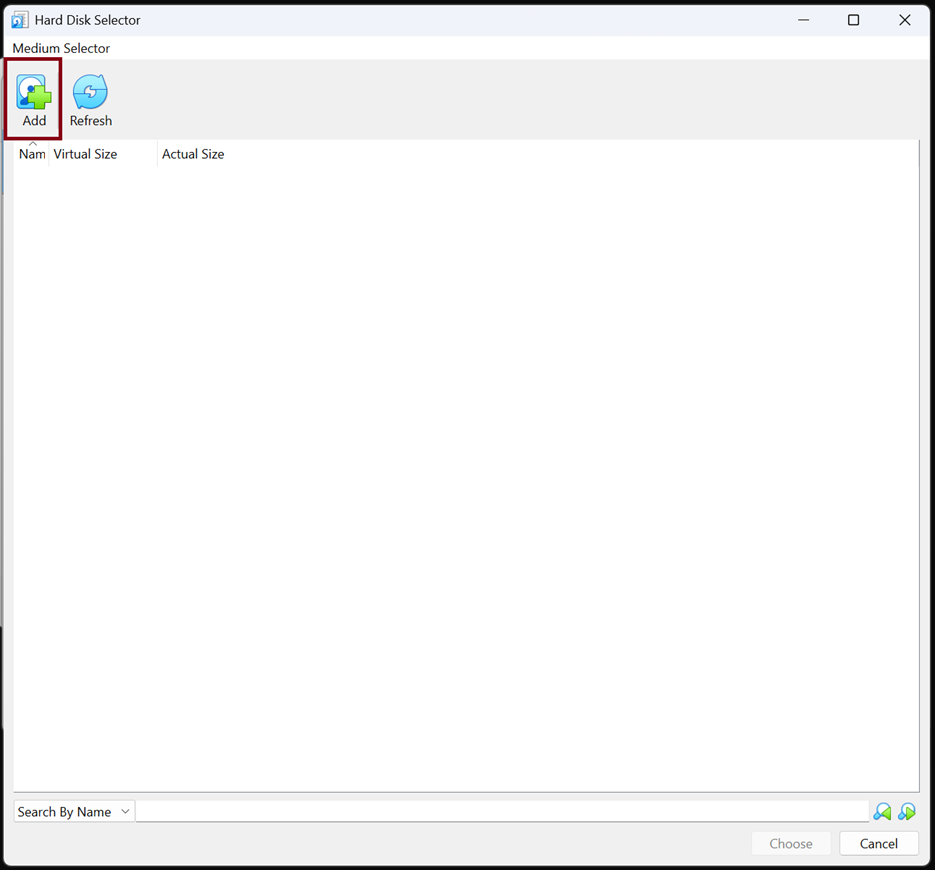
Please press button “Add”
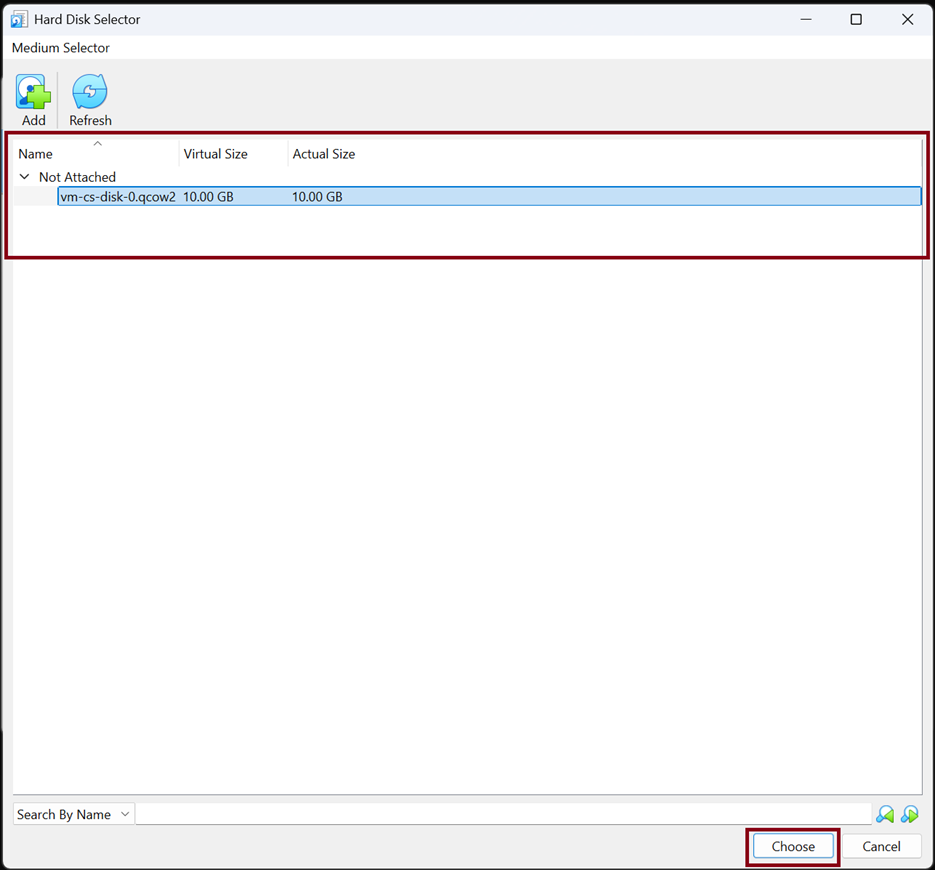
Click on the line with the image name and click on the “Choose” button

Please click button “Finish”

Please click button “Settings”
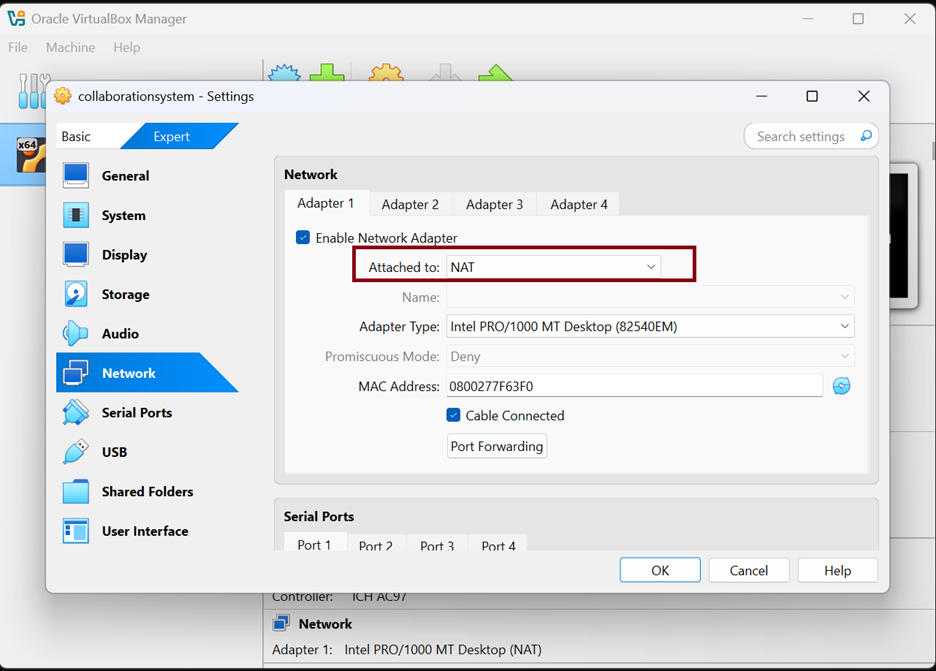
Go to the “Network” tab and select a network adapter of the “Bridge” type
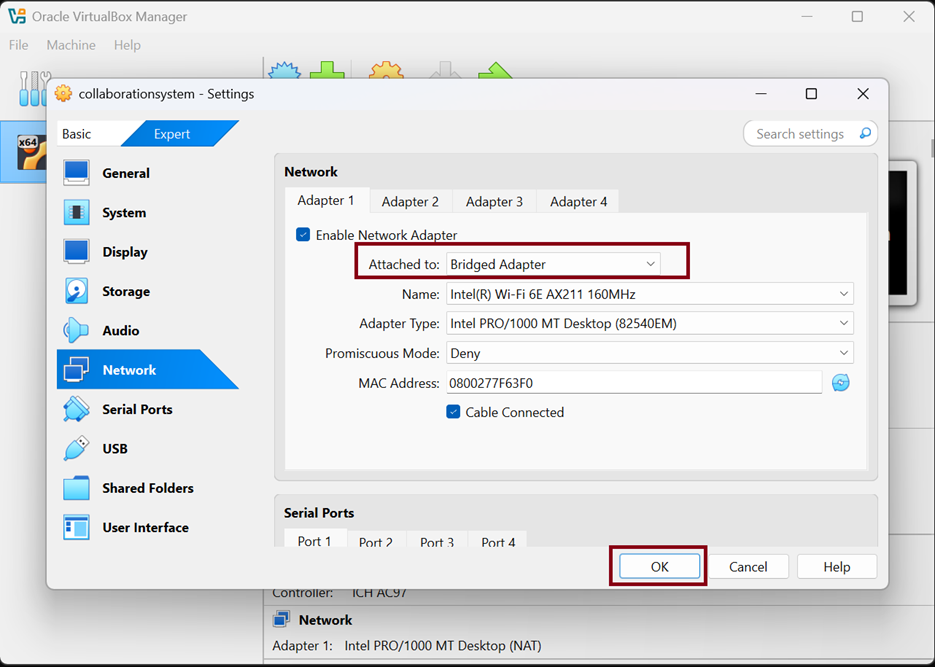
Please click button “OK”
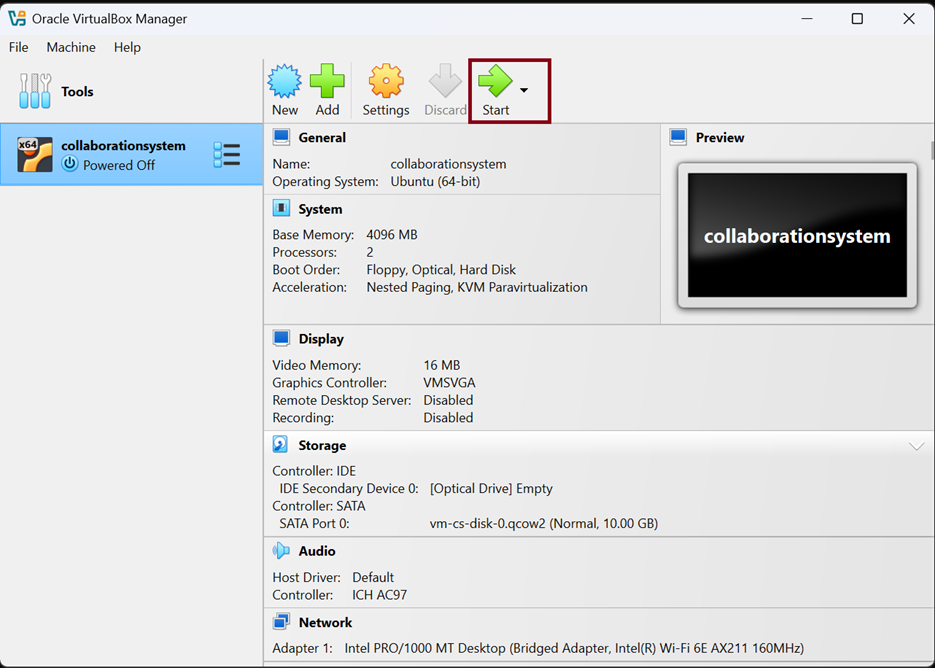
Please click button “Start”. Turn on the virtual machine
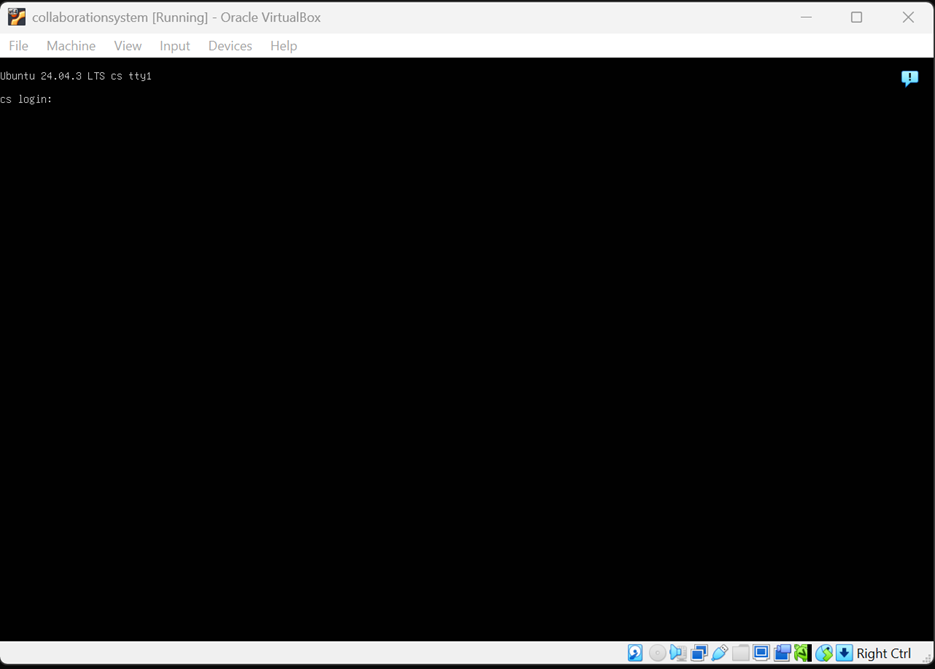
Log in using the administrator user (login: administrator and password: BkS&9230XC )
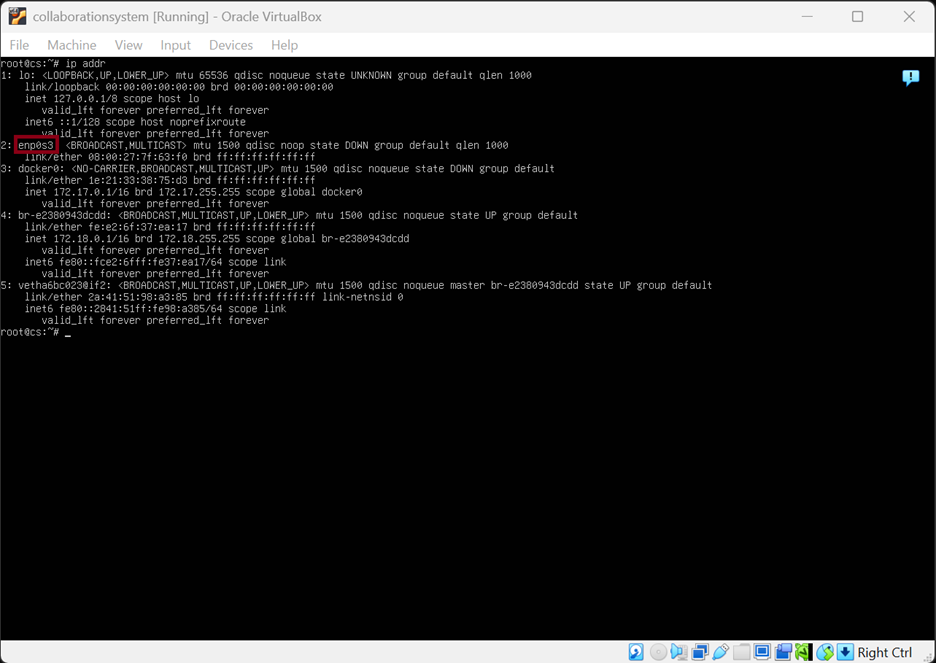
Enter the command sudo ip addr to see what network interface you have for working on the network. In our case, this is the network interface enp0s3
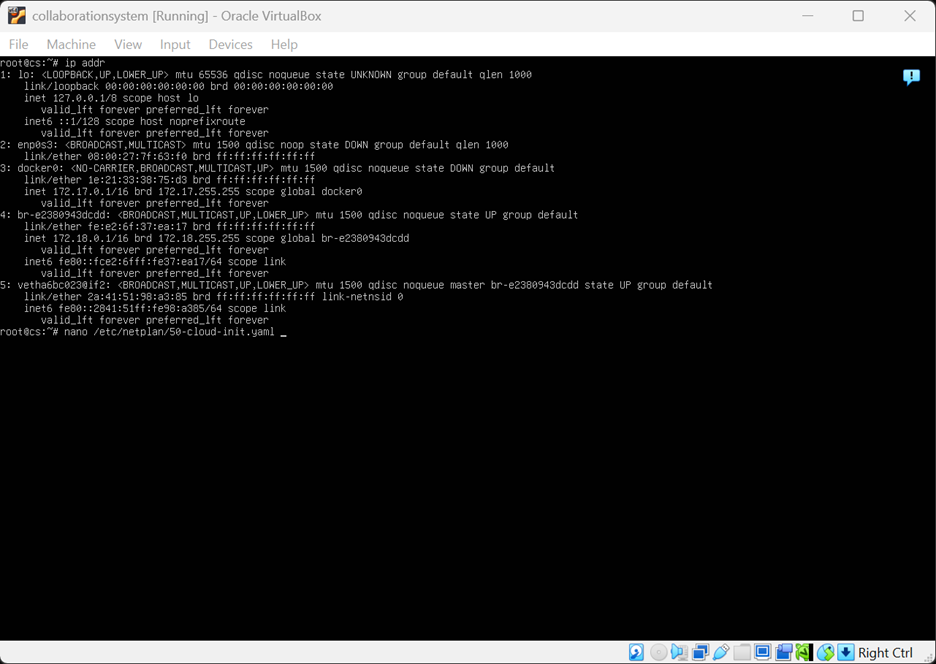
Open the file for editing sudo nano /etc/netplan/50-cloud-init.yaml

Find the network interface name in the file and change the name to the current one
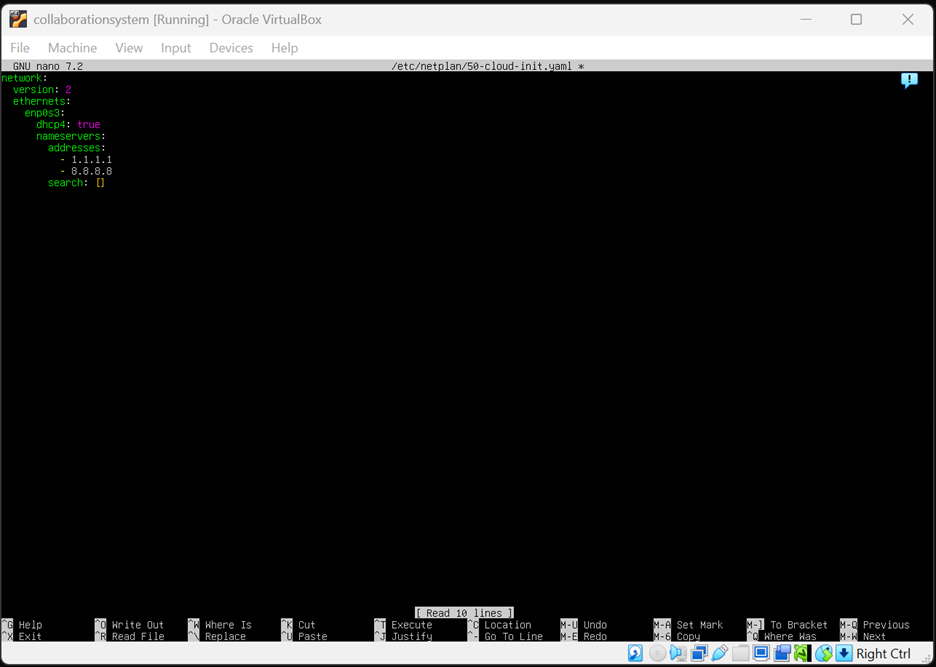
Save the file. Press the F2 key, answer the question affirmatively with the “Y” key and press the ENTER key to save the file and exit
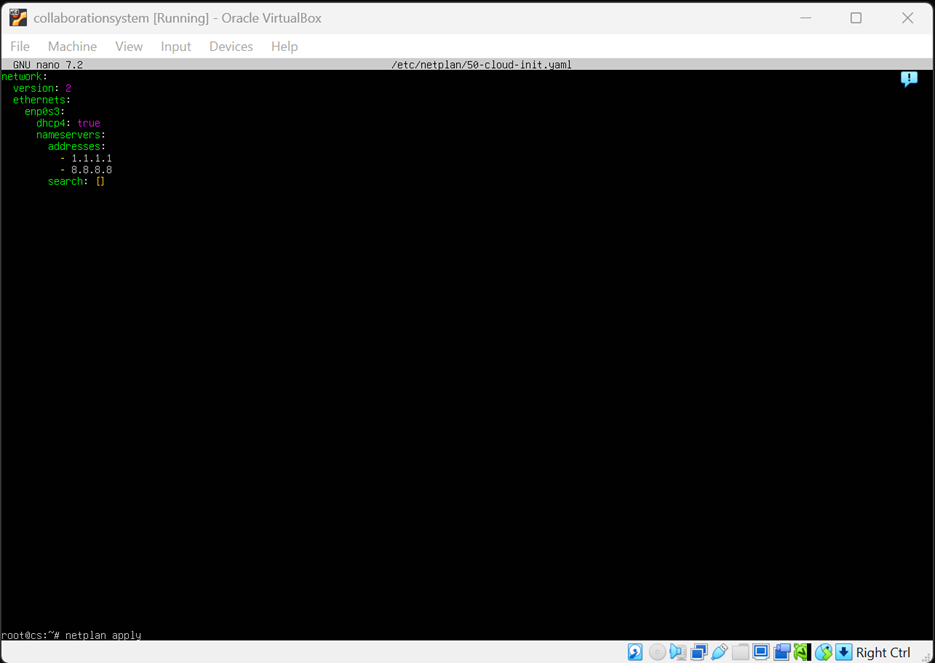
Apply network settings with sudo netplan apply command
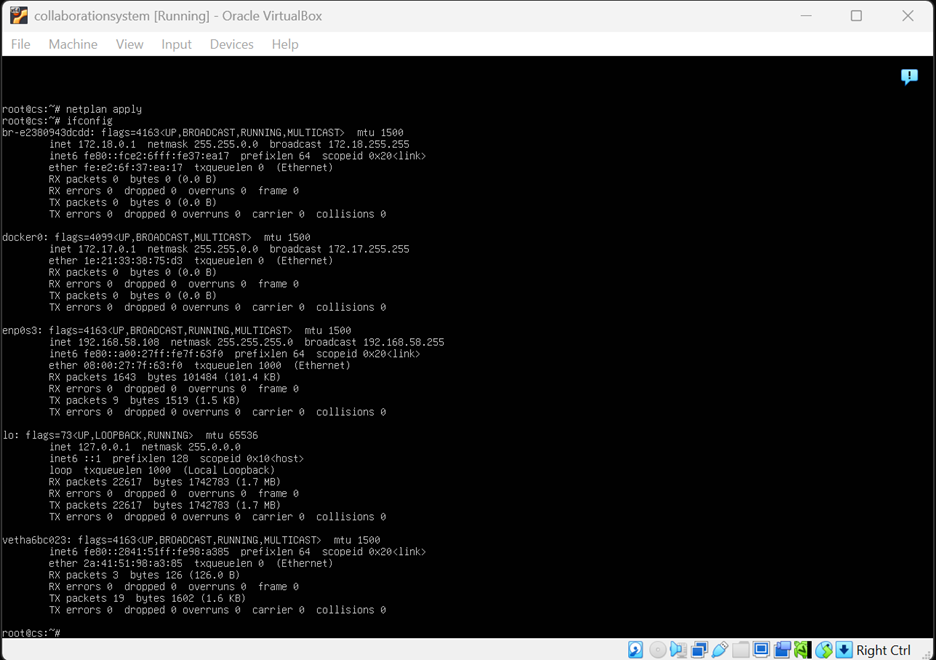
Check the network interfaces and what IP address was allocated. Command: sudo ifconfig
Setting up configuration MinIO S3 storage
#
Open the file nano /etc/nginx/sites-available/minio for editing. Replace the word ChangeAddress in two lines with your IP address and save the file

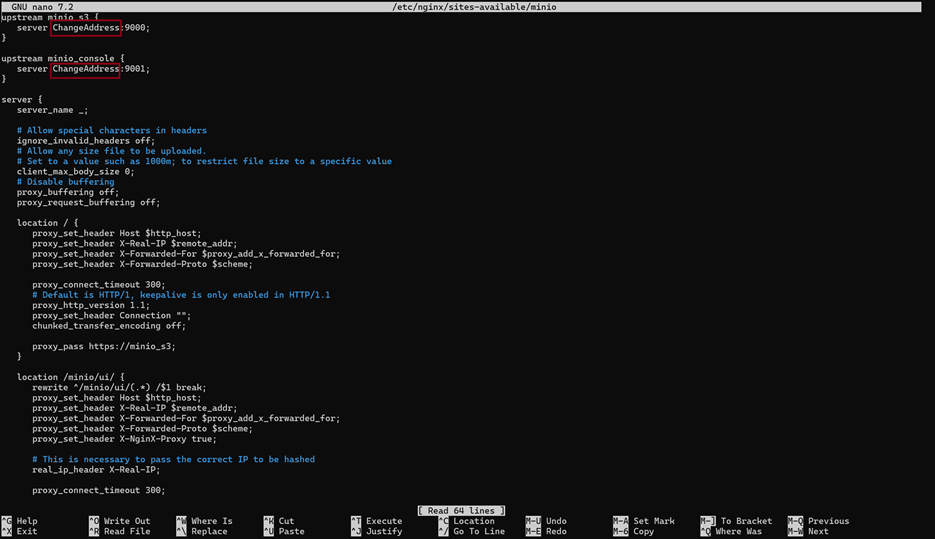
Press the F2 key, answer the question affirmatively with the “Y” key and press the ENTER key to save the file and exit

Open the file for editing sudo nano /opt/minio/docker-compose.yml

Replace the word “ChangeAddress” in two lines with your IP address and save the file. Press the F2 key, answer the question affirmatively with the “Y” key and press the ENTER key to save the file and exit

Open the file for editing: sudo nano /opt/minio/storage.json
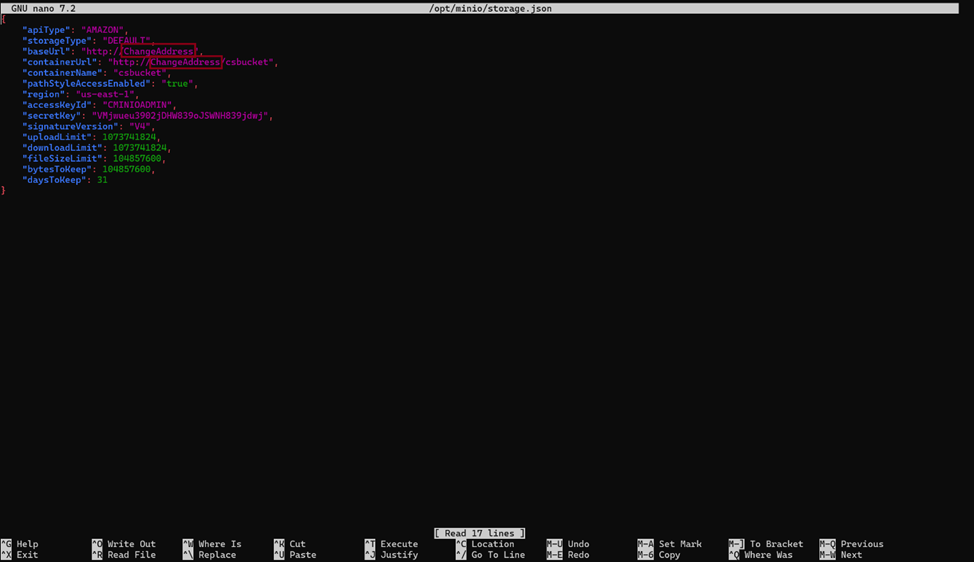
Replace the word ChangeAddress in two lines with your IP address and save the file. Press the F2 key, answer the question affirmatively with the “Y” key and press the ENTER key to save the file and exit
Execute the command cd /opt/minio and docker compose down && docker compose up -d
Run the web-server. Execute the command systemctl enable nginx && systemctl start nginx
Execute the commandsystemctl restart 1ce-cs_inst.service
systemctl restart 1ce-es_inst.service
systemctl restart 1ce-hc_inst.service
Execute the command cd /opt/minio and curl -Sf -X POST -H 'Content-Type: application/json' -u admin:admin --data-binary @storage.json http://127.0.0.1:8087/admin/storage_server
Setting up service for audio and video calls #

Open the file sudo nano /etc/turnserver.conf for editing
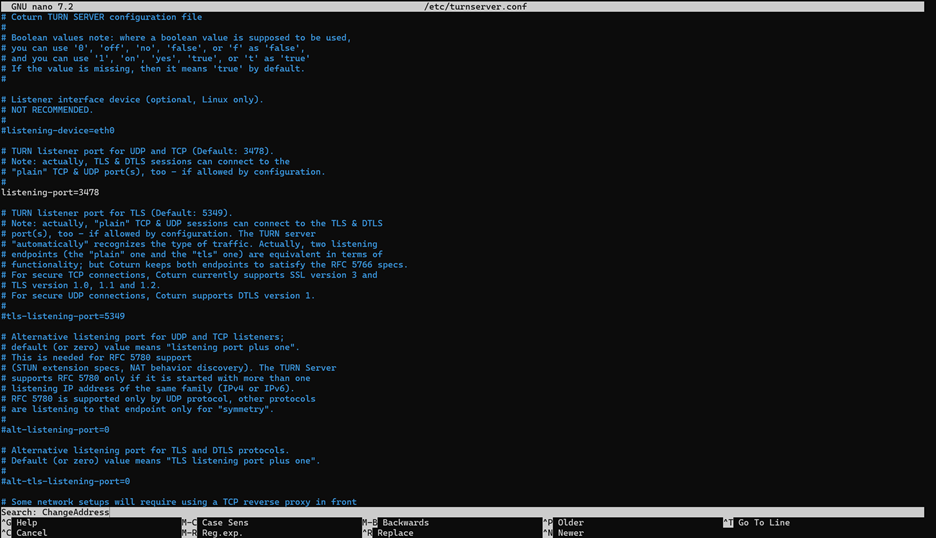
While in the editor, press the F6 key to search for lines to specify the IP address of the server in them
Keyword: “ChangeAddress”
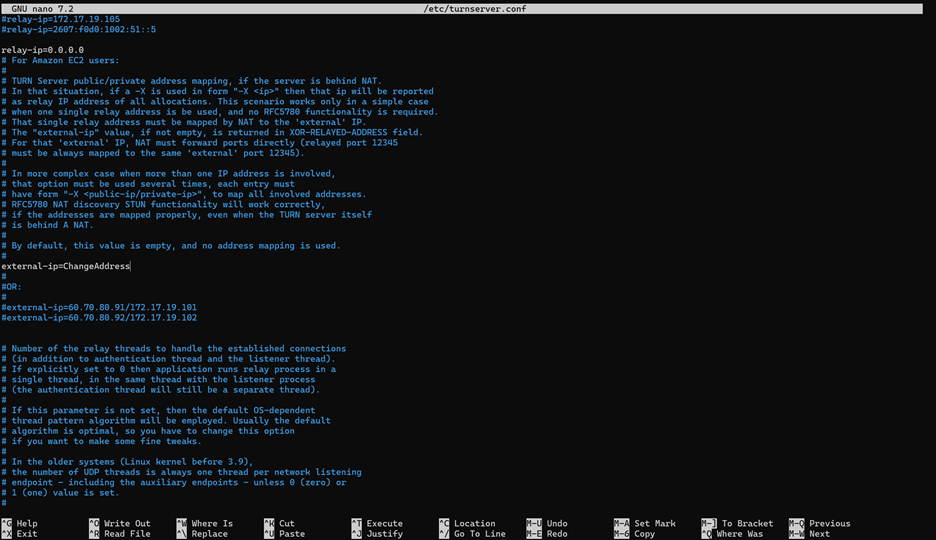
Replace the lines with your server IP address
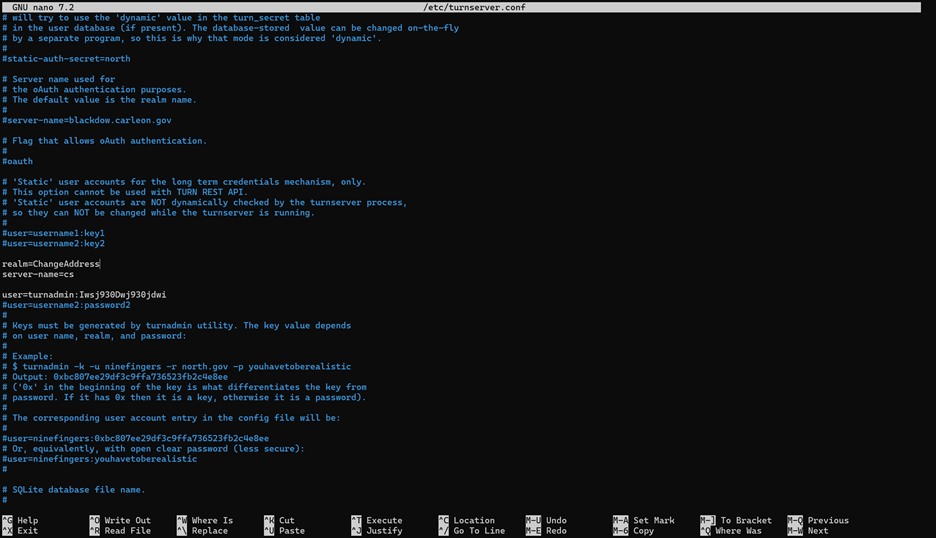
Replace the lines with your server IP address and save file
Restart the service with the command:systemctl restart coturn
Check that there are no errors:
systemctl status coturn
Connect the Turn server to the Collaboration Service:
curl -Sf -X POST -H "Content-Type: application/json" -d "{ \"url\" : \"turn:IP:3478\", \"username\" : \"turnadmin\", \"password\" : \" bfkiejew9d04jdkwendae903jadjwadjw940jdjwdj \", \"enabled\" : true }" -u admin:admin http://localhost:8087/admin/ice_server
Instead of IP (\”turn:IP:3478\”), specify your IP server address. Run the command in the server command line
Connecting the Collaboration System to the AccountingSuite #
Launch the platform and log in using the Administrator account (enter your login and password)
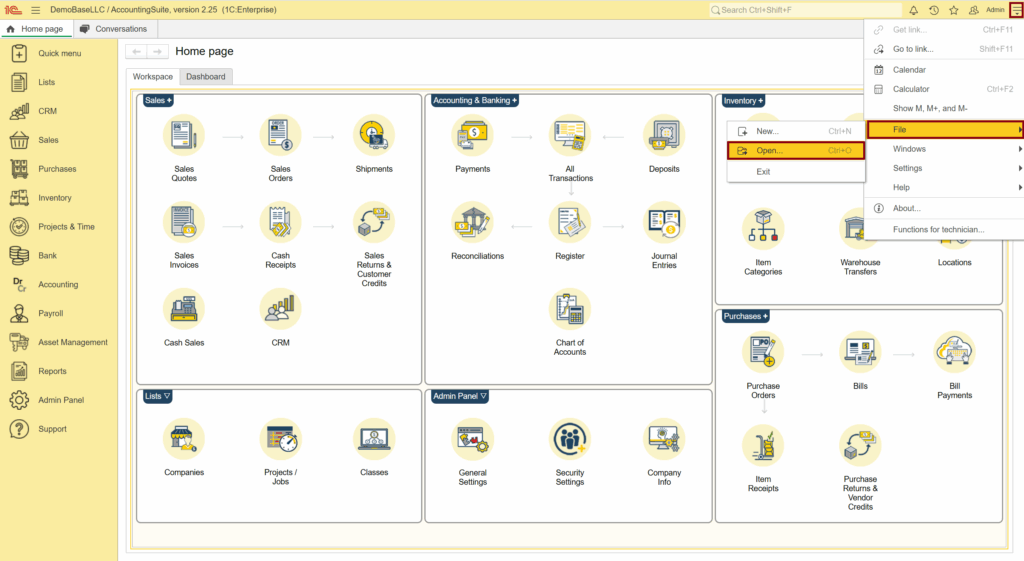
Press the service menu button. Select “File” – “Open”
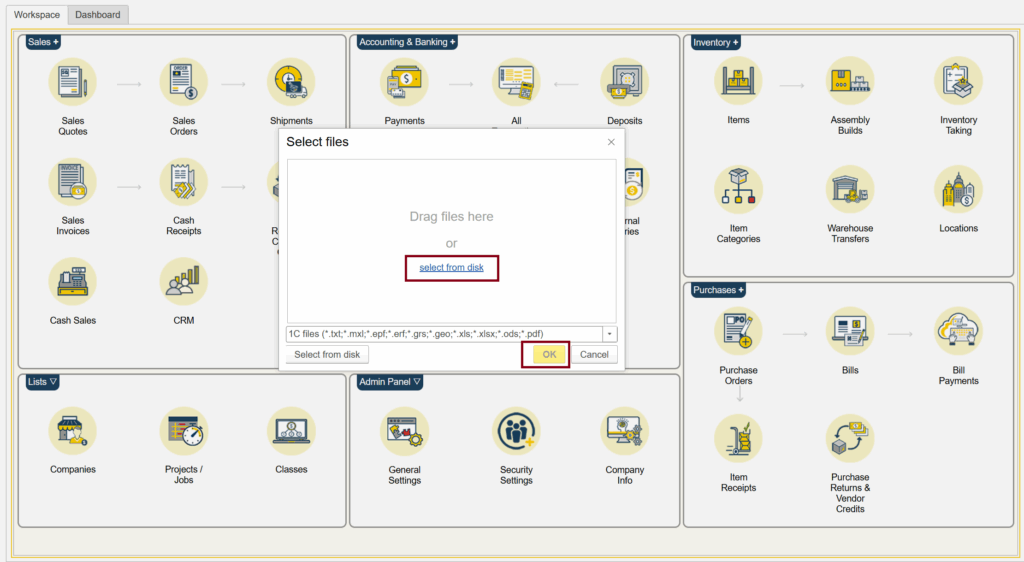
Upload CollaborationSystemRegister.epf file (take it from your Portal Downloads tab).
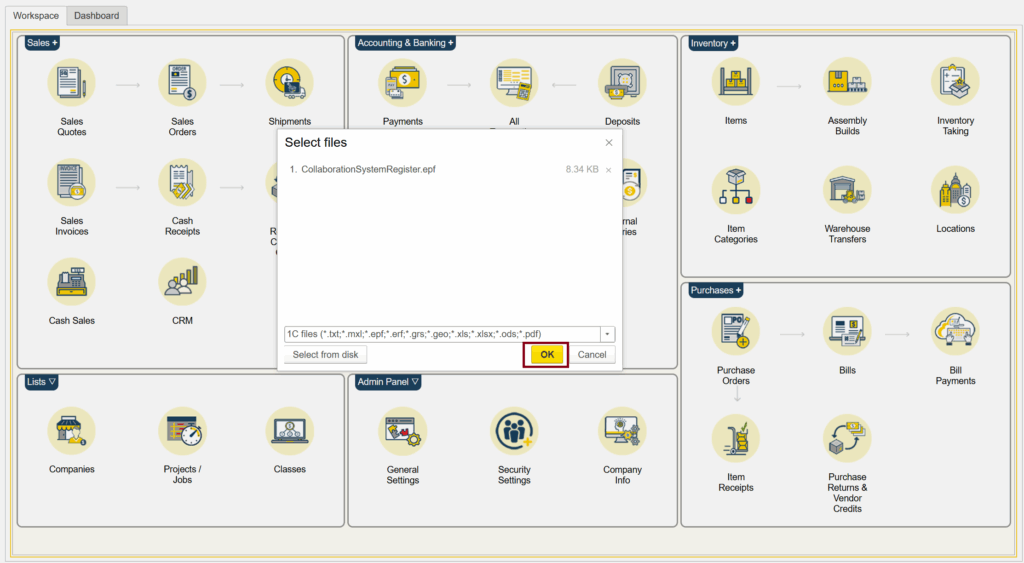
Click on the link “select from disk” and then click on the “OK” button to apply the selected EPF file
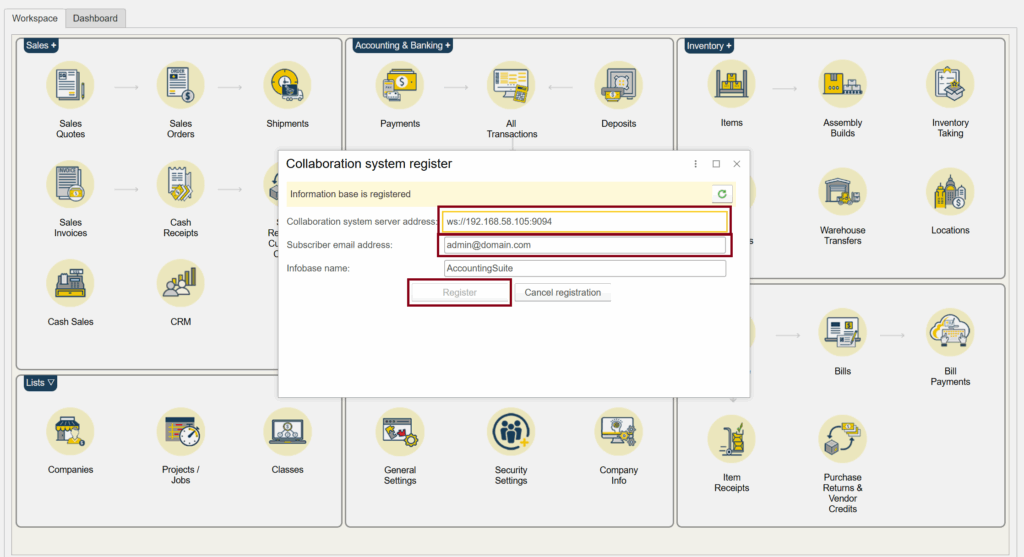
Enter your server address and port. Example: ws://192.168.58.105:9094 (instead of 192.168.58.105 you need to specify your IP address). Click the “Register” button
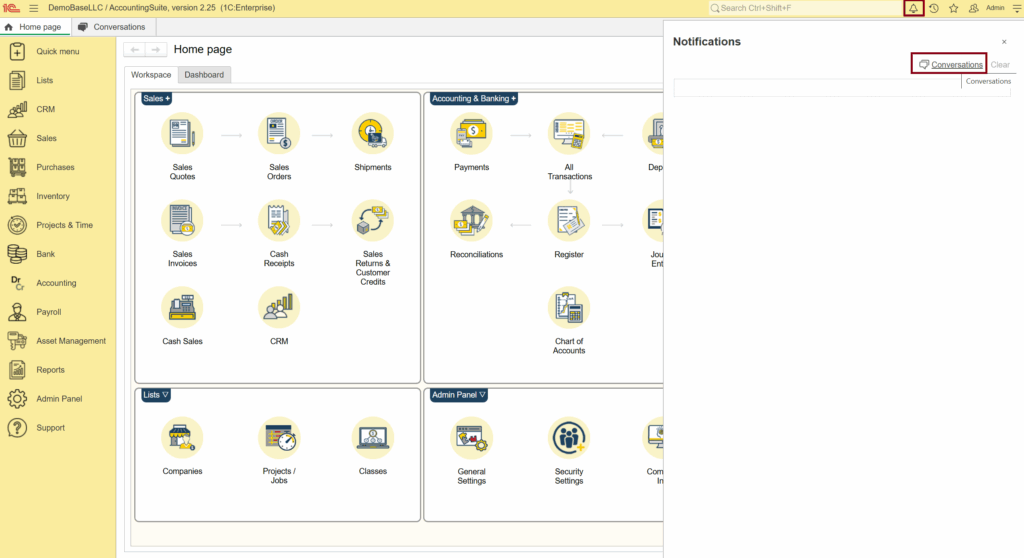
Click on the “Notifications” button on the top right. In the window that opens, click on the “Conversations” link.
The Collaboration system starts work on your On-premise AccountingSuite.