The Сloud or web published version of AccountingSuite can work in full client mode. Not just with a web browser. This allows you to reduce delays when the Internet connection and ping rate is poor.
To use the 1C:Enterprise Web Client for Cloud version, you need install 1C:Enterprise – Thin client. It is the same process of installation as it is in How to install 1C:Enterprise Client page.
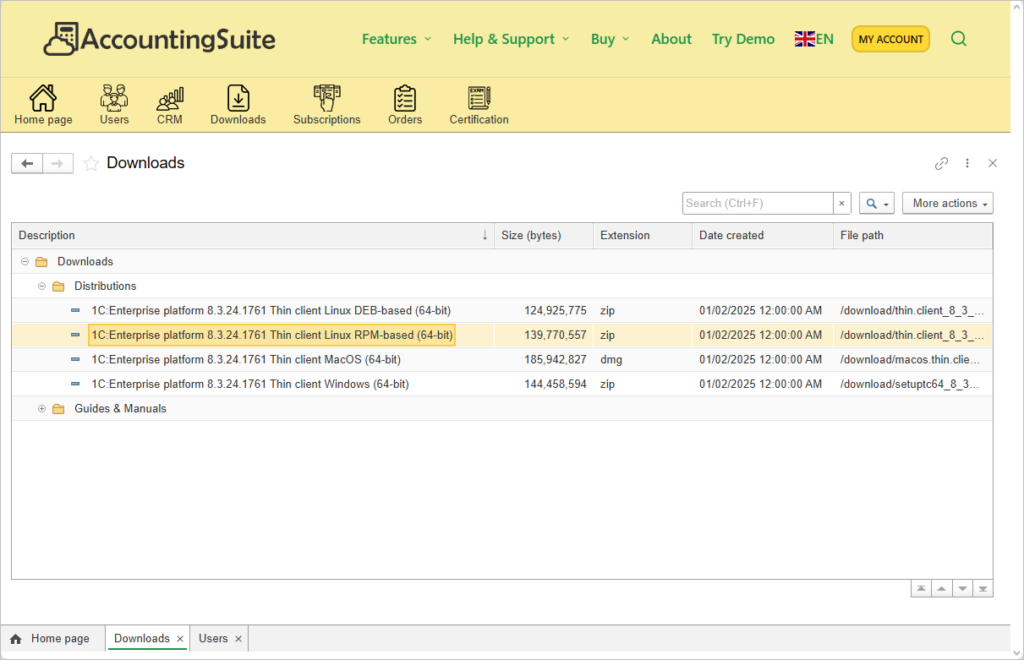
Download from your AccountingSuite Portal distribution file of the Thin client for your operating system.
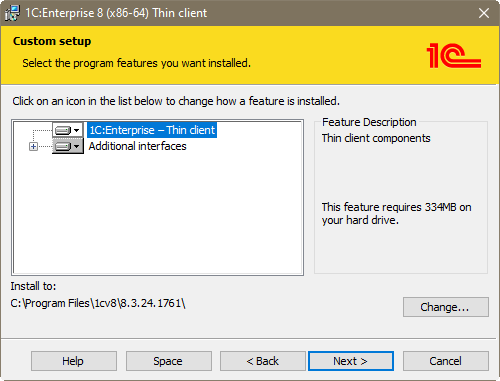
If you are using Thin client distribution, you do not need to check elements, it will be by default only Thin client.
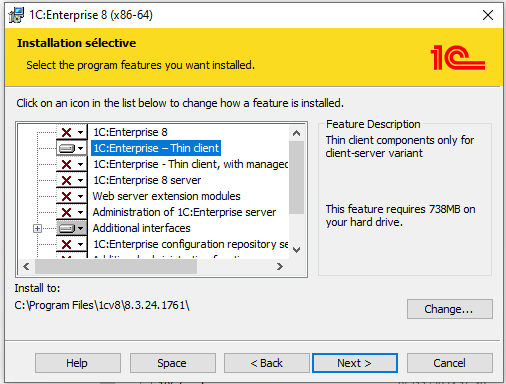
For full installation package if your workplace does not have an on-premise version and you only need web access to the cloud version, then you can install a lighter client. Check when installing only 1C:Enterprise – Thin client.
After installation process will be completed please follow these steps.
Step 1: Run the 1C Client #
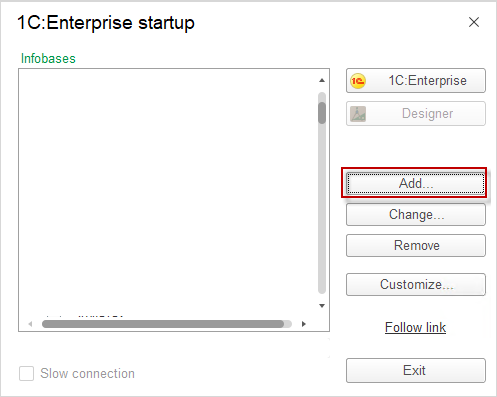
- On your desktop screen, double-click the 1C:Enterprise shortcut to open it.
- If you want to add the infobase, click Add.
Step 2: Add your infobase #
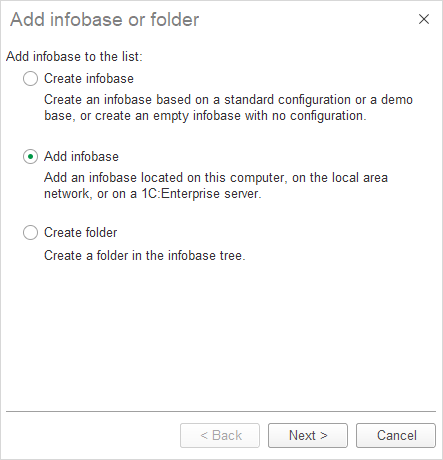
Step 3: Get cloud infobase name and infobase location type #
- Write infobase name
- Select an infobase location type – Web server
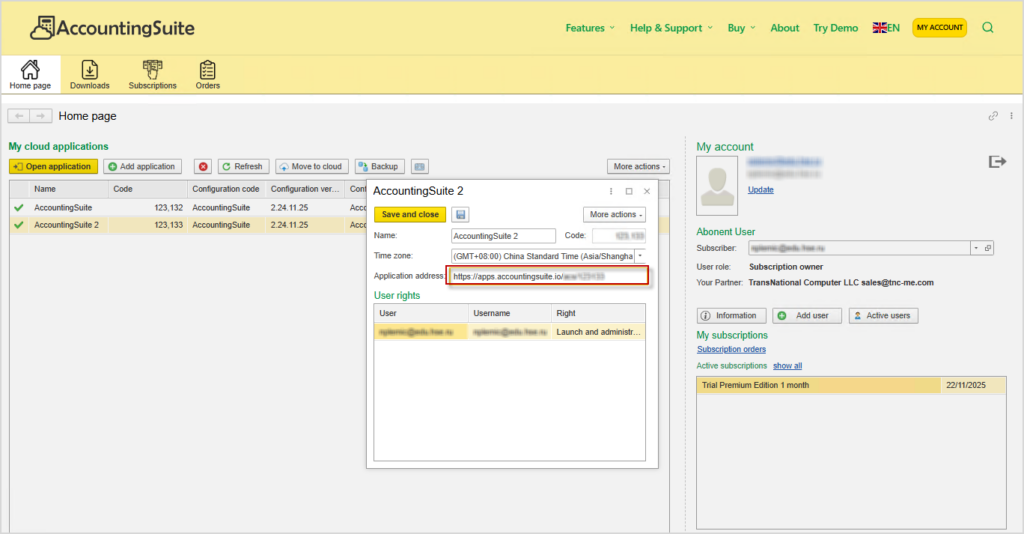
- To write the infobase location type, you need to open your AccountingSuite Portal and copy the Application address from there.

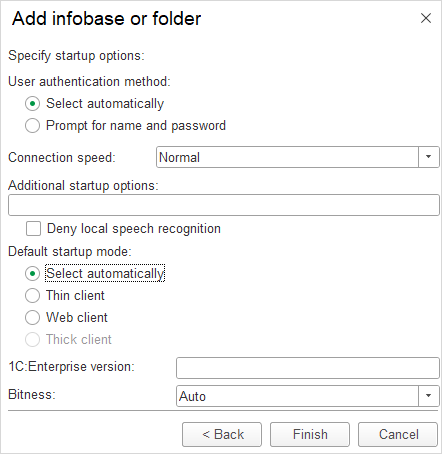
Step 4: Finish the settings #
You may add Additional startup options parameters: /L en /VL en or only /VL en
/L is for language, /VL is for regional settings. /VL en will make date in m/d/yyyy format as it is in US instead of international dd/mm/yyyy or from your PC’s regional settings.
You may use such parameters in the URL database address too add ?VL=en&L=en or only ?VL=en. Instead of en you may use: ar, fr, es.
Example https://demo.accountingsuite.io/demobase/?VL=en
Save Select automatically settings by default and click Finish.
Step 5: Check how it works #
After creating the infobase, click on 1C:Enterprise.
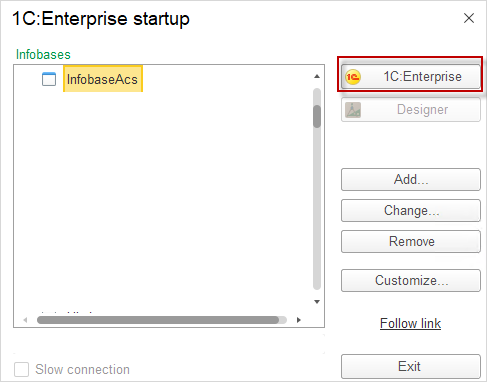
Do not use Slow connection checkbox on normal Internet work. In this mode you will lose images in main menu and other places to reduce traffic.
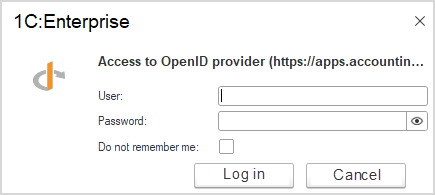
You need to enter your User and Password — use the information from your AccountingSuite Portal and click Log in.
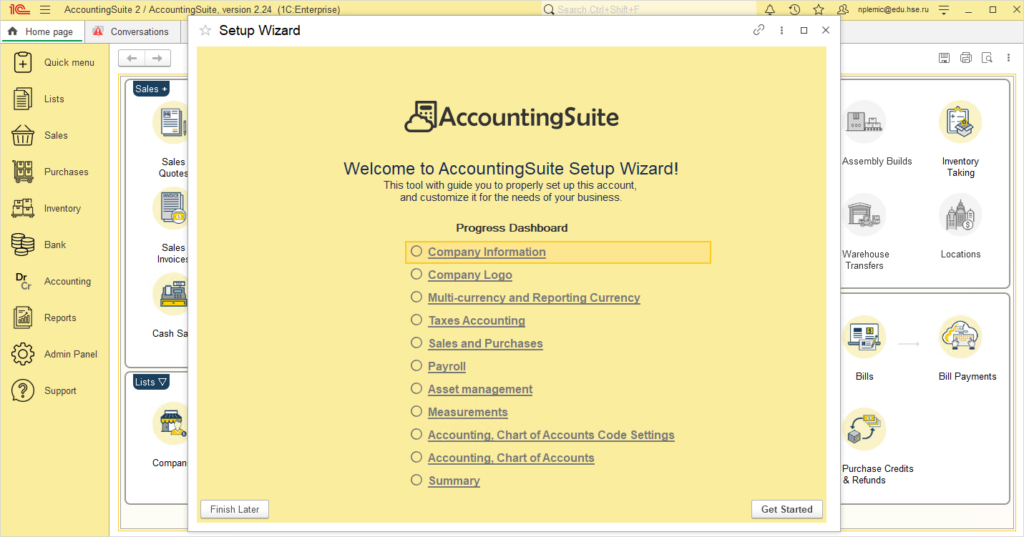
The AccountingSuite database will work with 1C:Enterprise Web Client mode like it is for on-premise one but via Internet.