To install a 1C:Enterprise Server, you need to have the rights and competencies of a system administrator in the company’s network.
For more information about managing server solutions based on 1C Enterprise Platform, please see the articles on https://1c-dn.com/library/administration/. You can download manuals in PDF files 1C:Enterprise Administrator Guide and 1C:Enterprise Administrator Guide. Client/Server Mode.
Step 1: Obtain the Installation Archive #
Download installation archive from the AccountingSuite Portal: 1C:Enterprise platform for Windows.
Step 2: Prepare the Directory for the Installation Files #
- 1. Create a new directory where you want to store the installation files.
- Extract the contents of the installation archive into this directory.
Step 3: Run the Installer #
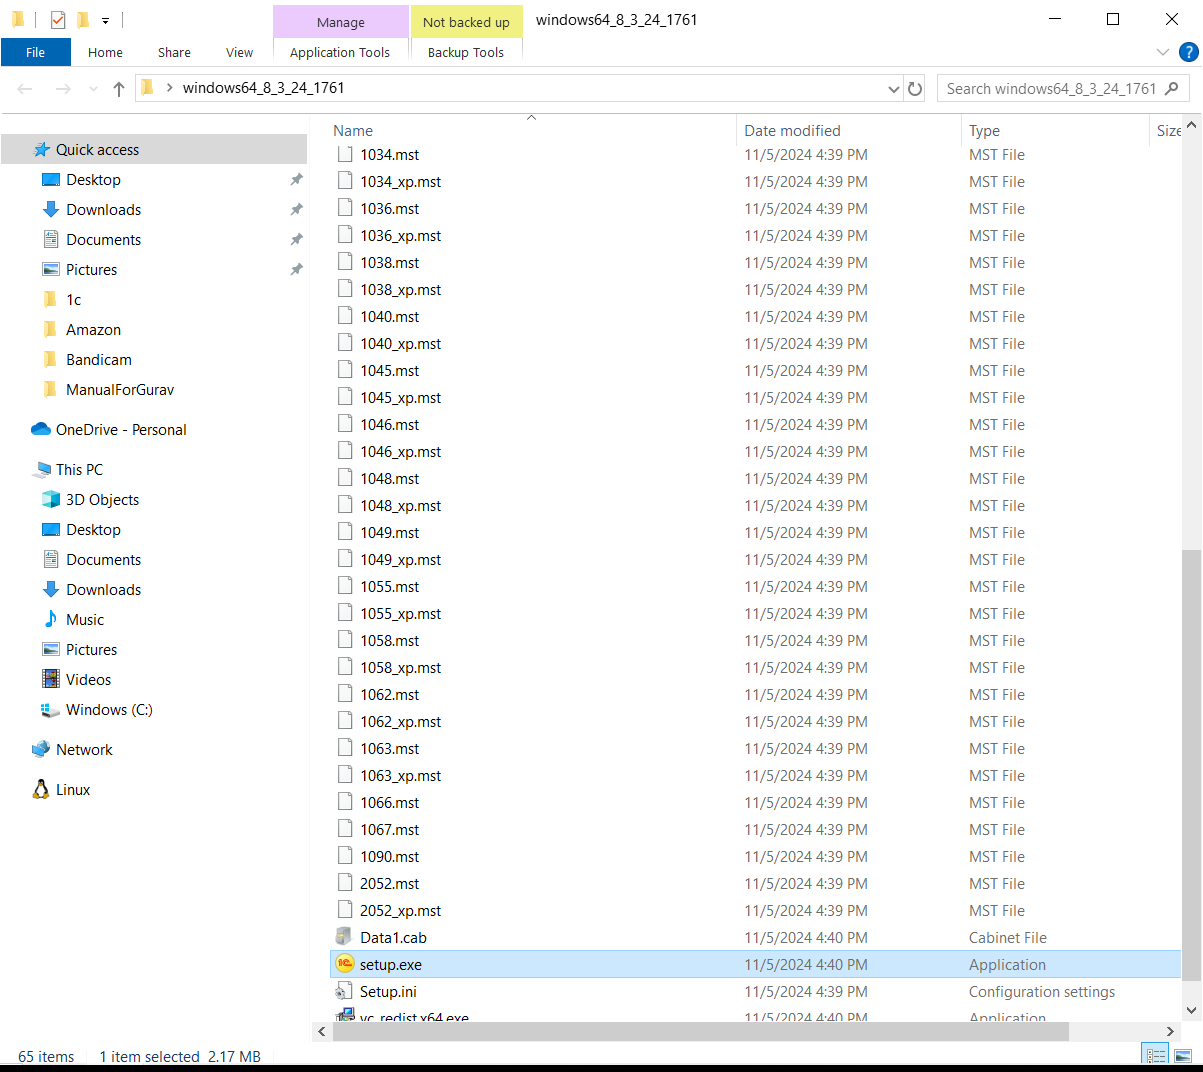
Locate the setup.exe file in the extracted directory. Right-click the file and select Run as Administrator to start the installation process.
Step 4: Begin Installation #
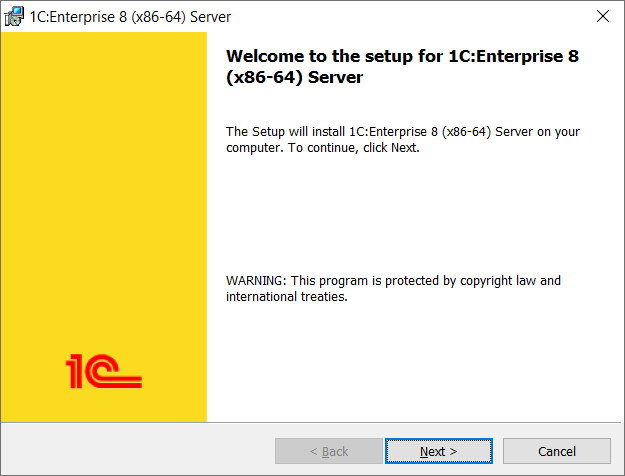
Click Next to initiate the installation.
Step 5: Configure Language Settings #
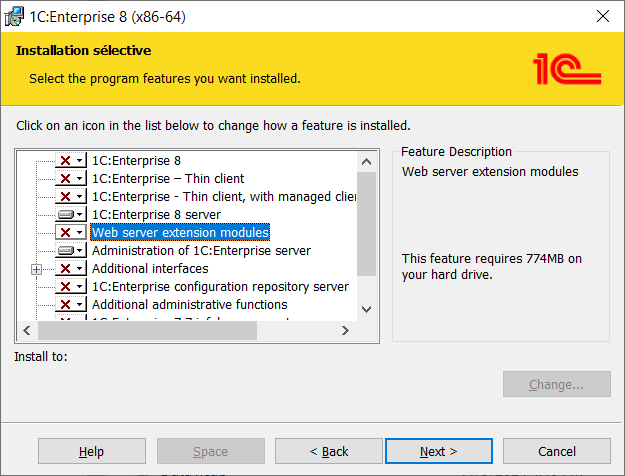
- Select installation options: 1C:Enterprise 8 server and Administration of 1C:Enterprise server.
- Click Next.
Step 6: Configure Server Options #
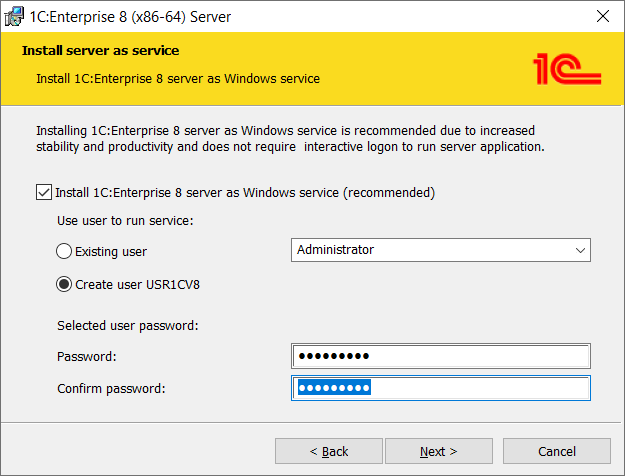
- Enable the following options: 1C:Enterprise 8 Server as a Windows service and Create user USR1CV8
- Set a password that is at least 8 characters long, includes at least one number, and contains at least one special character.
- Click Next.
Step 7: Start the Installation #
Click the Install button and wait for the installation to complete.

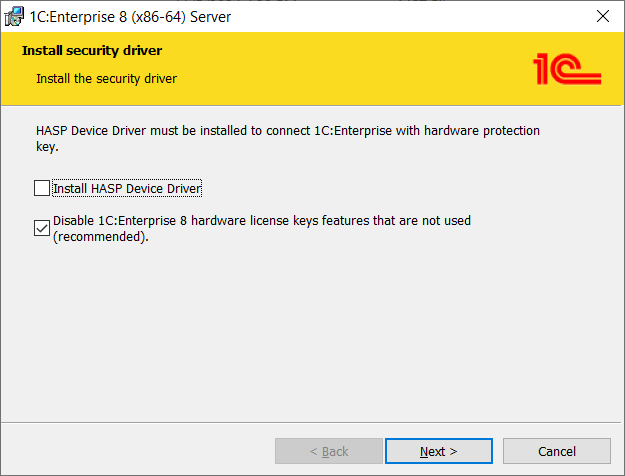
Step 8: Install Security Driver #
- If you are using hardware licenses, leave the Install HASP Device Driver option checked.
- If you are using software licenses only, uncheck this option.
- Click Next to continue.
Step 9: Complete the Installation #
Once the installation is finished, click Finish.

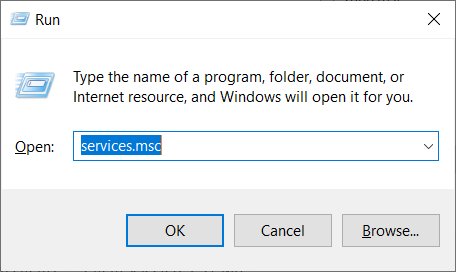
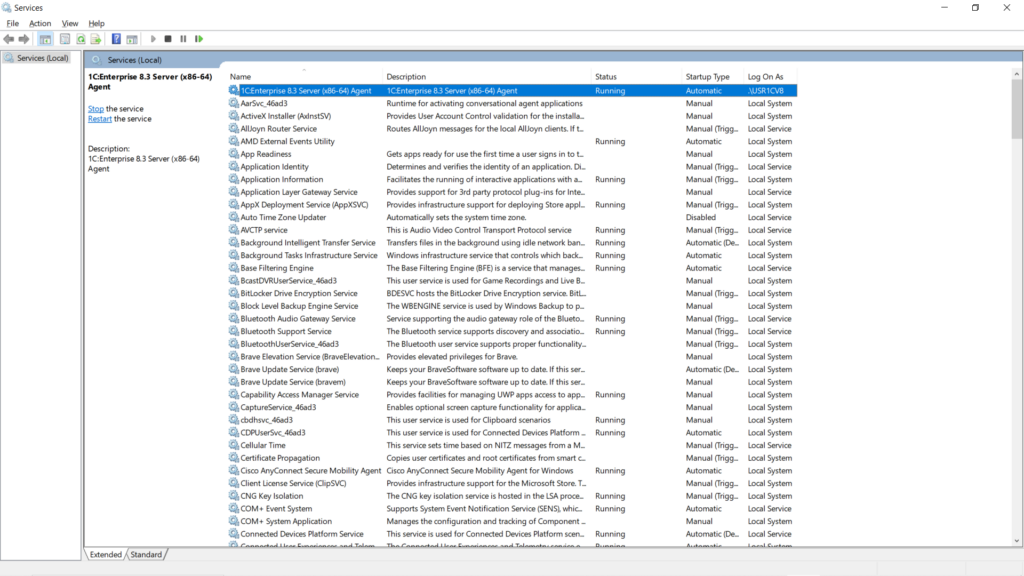
Step 10: Verify the Installation #
- Open the Run window by pressing Win + R and type services.msc.
- In the Services console, ensure that the 1C:Enterprise service is enabled and its status is set to Running.
Conclusion #
Next step it is How to install 1C:Enterprise Client.