The installation of the 1C:Enterprise platform allows users to set up the necessary components for working with the system. Before you begin the installation, it is important to familiarize yourself with the basic steps and options provided by the installer. The installation process is straightforward and guides you through several stages, from choosing the installation directory to selecting the components you want to install. Depending on your needs, you can choose the basic components, as well as additional modules that enable specific functionalities, such as working in client/server mode or with file-based infobases. The installation also provides the option to customize installation settings according to your requirements. Below is a detailed description of the steps to help you successfully install the 1C:Enterprise platform on your computer.
Step 1: Obtain the Installation Archive #
Contact us to obtain the 1C:Enterprise installation package for Windows and license keys.
Download installation archive from the AccountingSuite Portal: 1C:Enterprise platform for Windows.
Step 2: Prepare the Installation Directory #
- Create a new directory where you want to store the installation files.
- Extract the contents of the installation archive into this directory.
Step 3: Run the Installer #
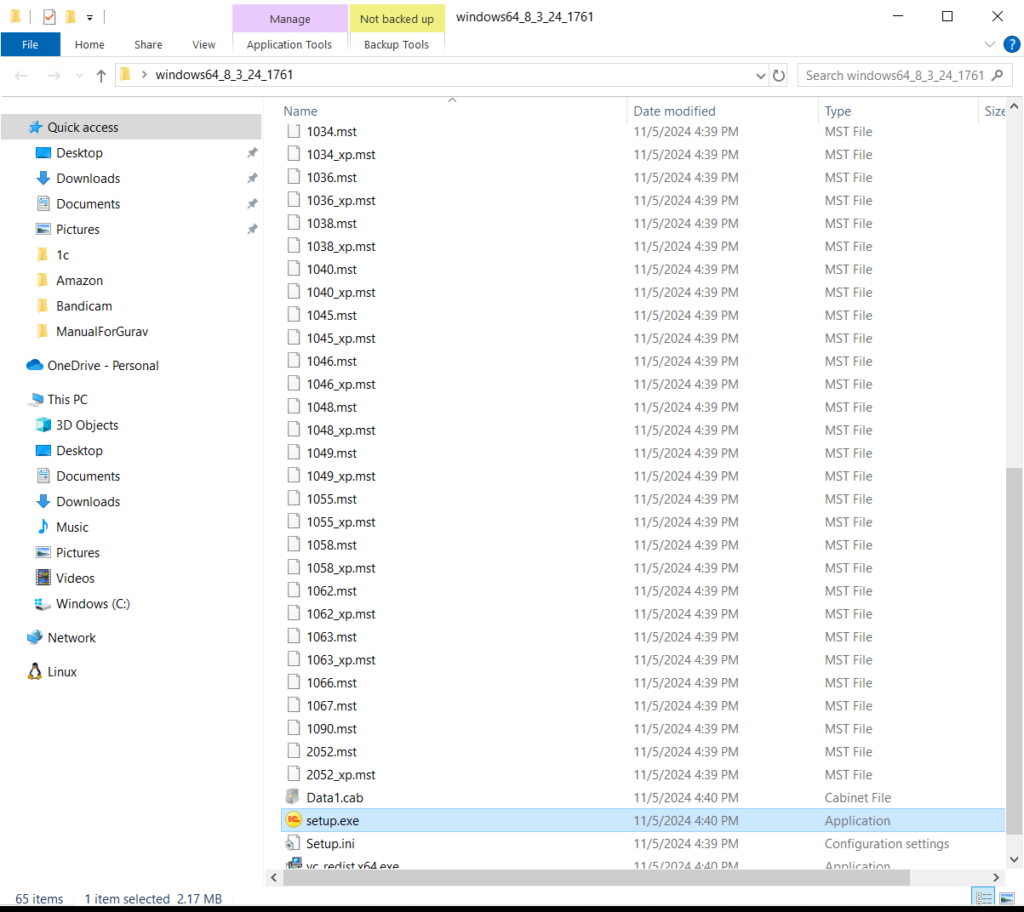
Locate the setup.exe file in the extracted directory. Right-click the file and select Run as Administrator to start the installation process.
Step 4: Begin Installation #
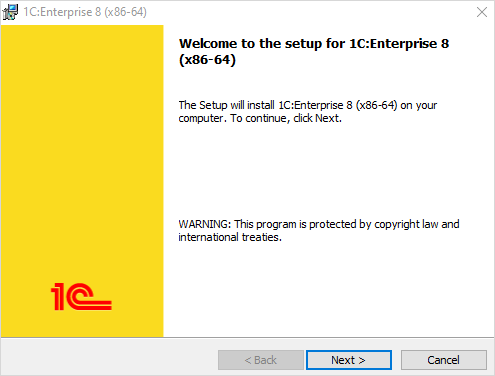
Click Next to initiate the installation.
Step 5: Choose components and set installation directory #
Further installer behavior may vary depending on the availability of previous 1C:Enterprise installations. The installer prompts you to select the components to be installed. In the Install to field, specify an installation directory. The installer will copy the selected components to this directory. You can use the default installation directory or click Change to specify another directory. Once you select the components and specify a directory, click Next. During the first installation, the installer suggests that you install the 1C:Enterprise component. This component includes all the platform features: Thick and Thin clients, as well as configuration development and administration tools.
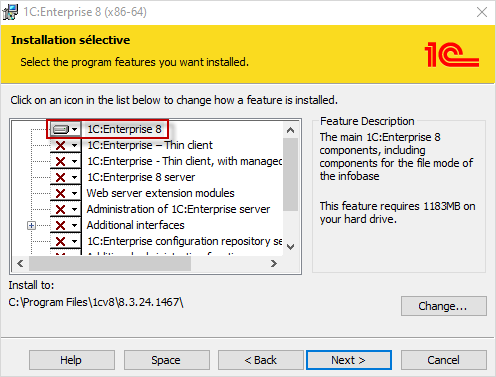
For the SysAdmin’s Workstation, please check additional option Administration of 1C:Enterprise server.
You will find a brief explanation of the installed components below:
| Component | Brief Description |
| 1C:Enterprise 8 | Basic 1C:Enterprise components, including components for administration, configuration development, thick and thin clients |
| 1C:Enterprise – Thin client | Only the components of the thin client intended to work in the client/server mode |
| 1C:Enterprise – Thin client, with managed client file IB components | Thin client components, including those intended to work with the file infobase |
| 1C:Enterprise 8 server | 1C:Enterprise server components including administration server and administration utility |
| Web server extension modules | Web servers extension modules that are required for web client and web services operation |
| Administration of 1C:Enterprise server | Additional components that are required to administer the 1C:Enterprise server cluster |
| Additional interfaces | User interfaces in various languages |
| 1C:Enterprise configuration repository server | Components of the 1C:Enterprise configuration repository server, including the administration server and the administration utility |
| 1C:Enterprise 7.7 infobase converter | Converter for 1C:Enterprise 7.7 infobases |
If you do not need any customizations, click Next. If you only need to install the Thin client to connect to an infobase located on a server or a web server, select 1C:Enterprise – Thin client.

Click Next to proceed with the installation. If you only need to install the thin client to work with a file infobase, select 1C:Enterprise – Thin client, with managed client file IB components.
Step 6: Configure Language Settings #
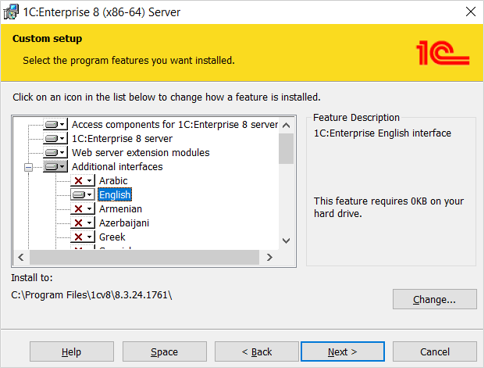
Choose English as an additional interface language and click Next.
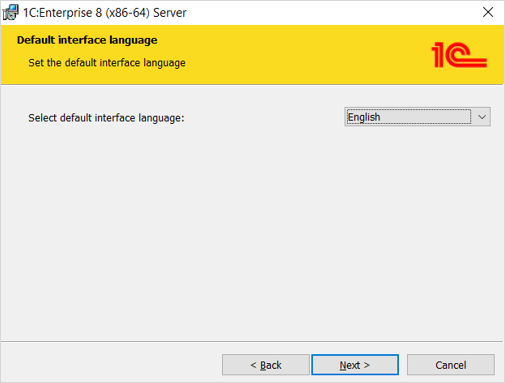
Step 7: Set the Default Interface Language #

Please note: The default interface language setting only applies to the common 1C:Platform interface. This setting does not affect the AccountingSuite application internals, which currently supports English language only now.
Select English as the default interface language and click Next.

Changing Default Interface Language After Installation #
You can change the default interface language later by modifying the SystemLanguage parameter in the configuration file:C:\Program Files\1cv8\conf\conf.cfg .
Supported SystemLanguage values:
System– Use the operating system’s language settingsaz– Azerbaijanien– Englishhy– Armenianbg– Bulgarianhu– Hungarianvi– Vietnameseel– Greekka– Georgianes– Spanishit– Italiankk– Kazakhzh– Chineselv– Latvianlt– Lithuaniande– Germanpl– Polishpt_BR– Portuguese (Brazil)ro– Romanianru– Russiantr– Turkishtk– Turkmenuk– Ukrainianfr– French
Alternatively, you can set the default language when launching 1C:Enterprise by using the /L parameter. For example, to start 1C with Chinese as the default interface language, modify the shortcut like this:

Step 8: Start the Installation #
Click the Install button and wait for the installation to complete.

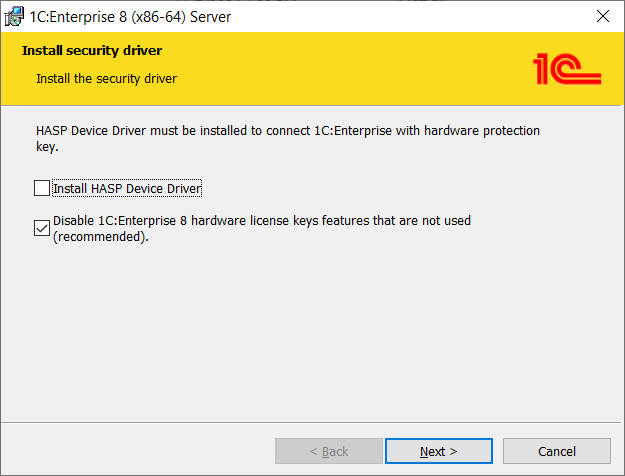
Step 9: Install Security Driver #
- If you are using hardware licenses, leave the Install HASP Device Driver option checked.
- If you are using software licenses only, uncheck Install HASP Device Driver option.
- Click Next to continue.
Step 10: Complete the Installation #
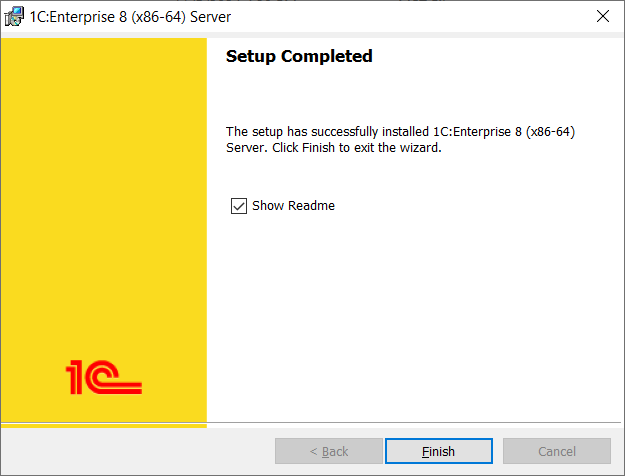
Once the installation is finished, click Finish.
Conclusion #
We have installed 1C:Enterprise Client on Windows. Next step How to create AccountingSuite database.
